Free LUT Pack for Video Editors
Free Cinematic LUTs for
Video Editors.
12 free professional LUTs designed for video editors. One-click cinematic, warm, moody, and retro looks. Works in Premiere Pro, DaVinci Resolve, Final Cut Pro, CapCut, and more.
12 LUTs
Free Pack
.cube
Universal Format
10+ Editors
Supported
$0
Free Forever
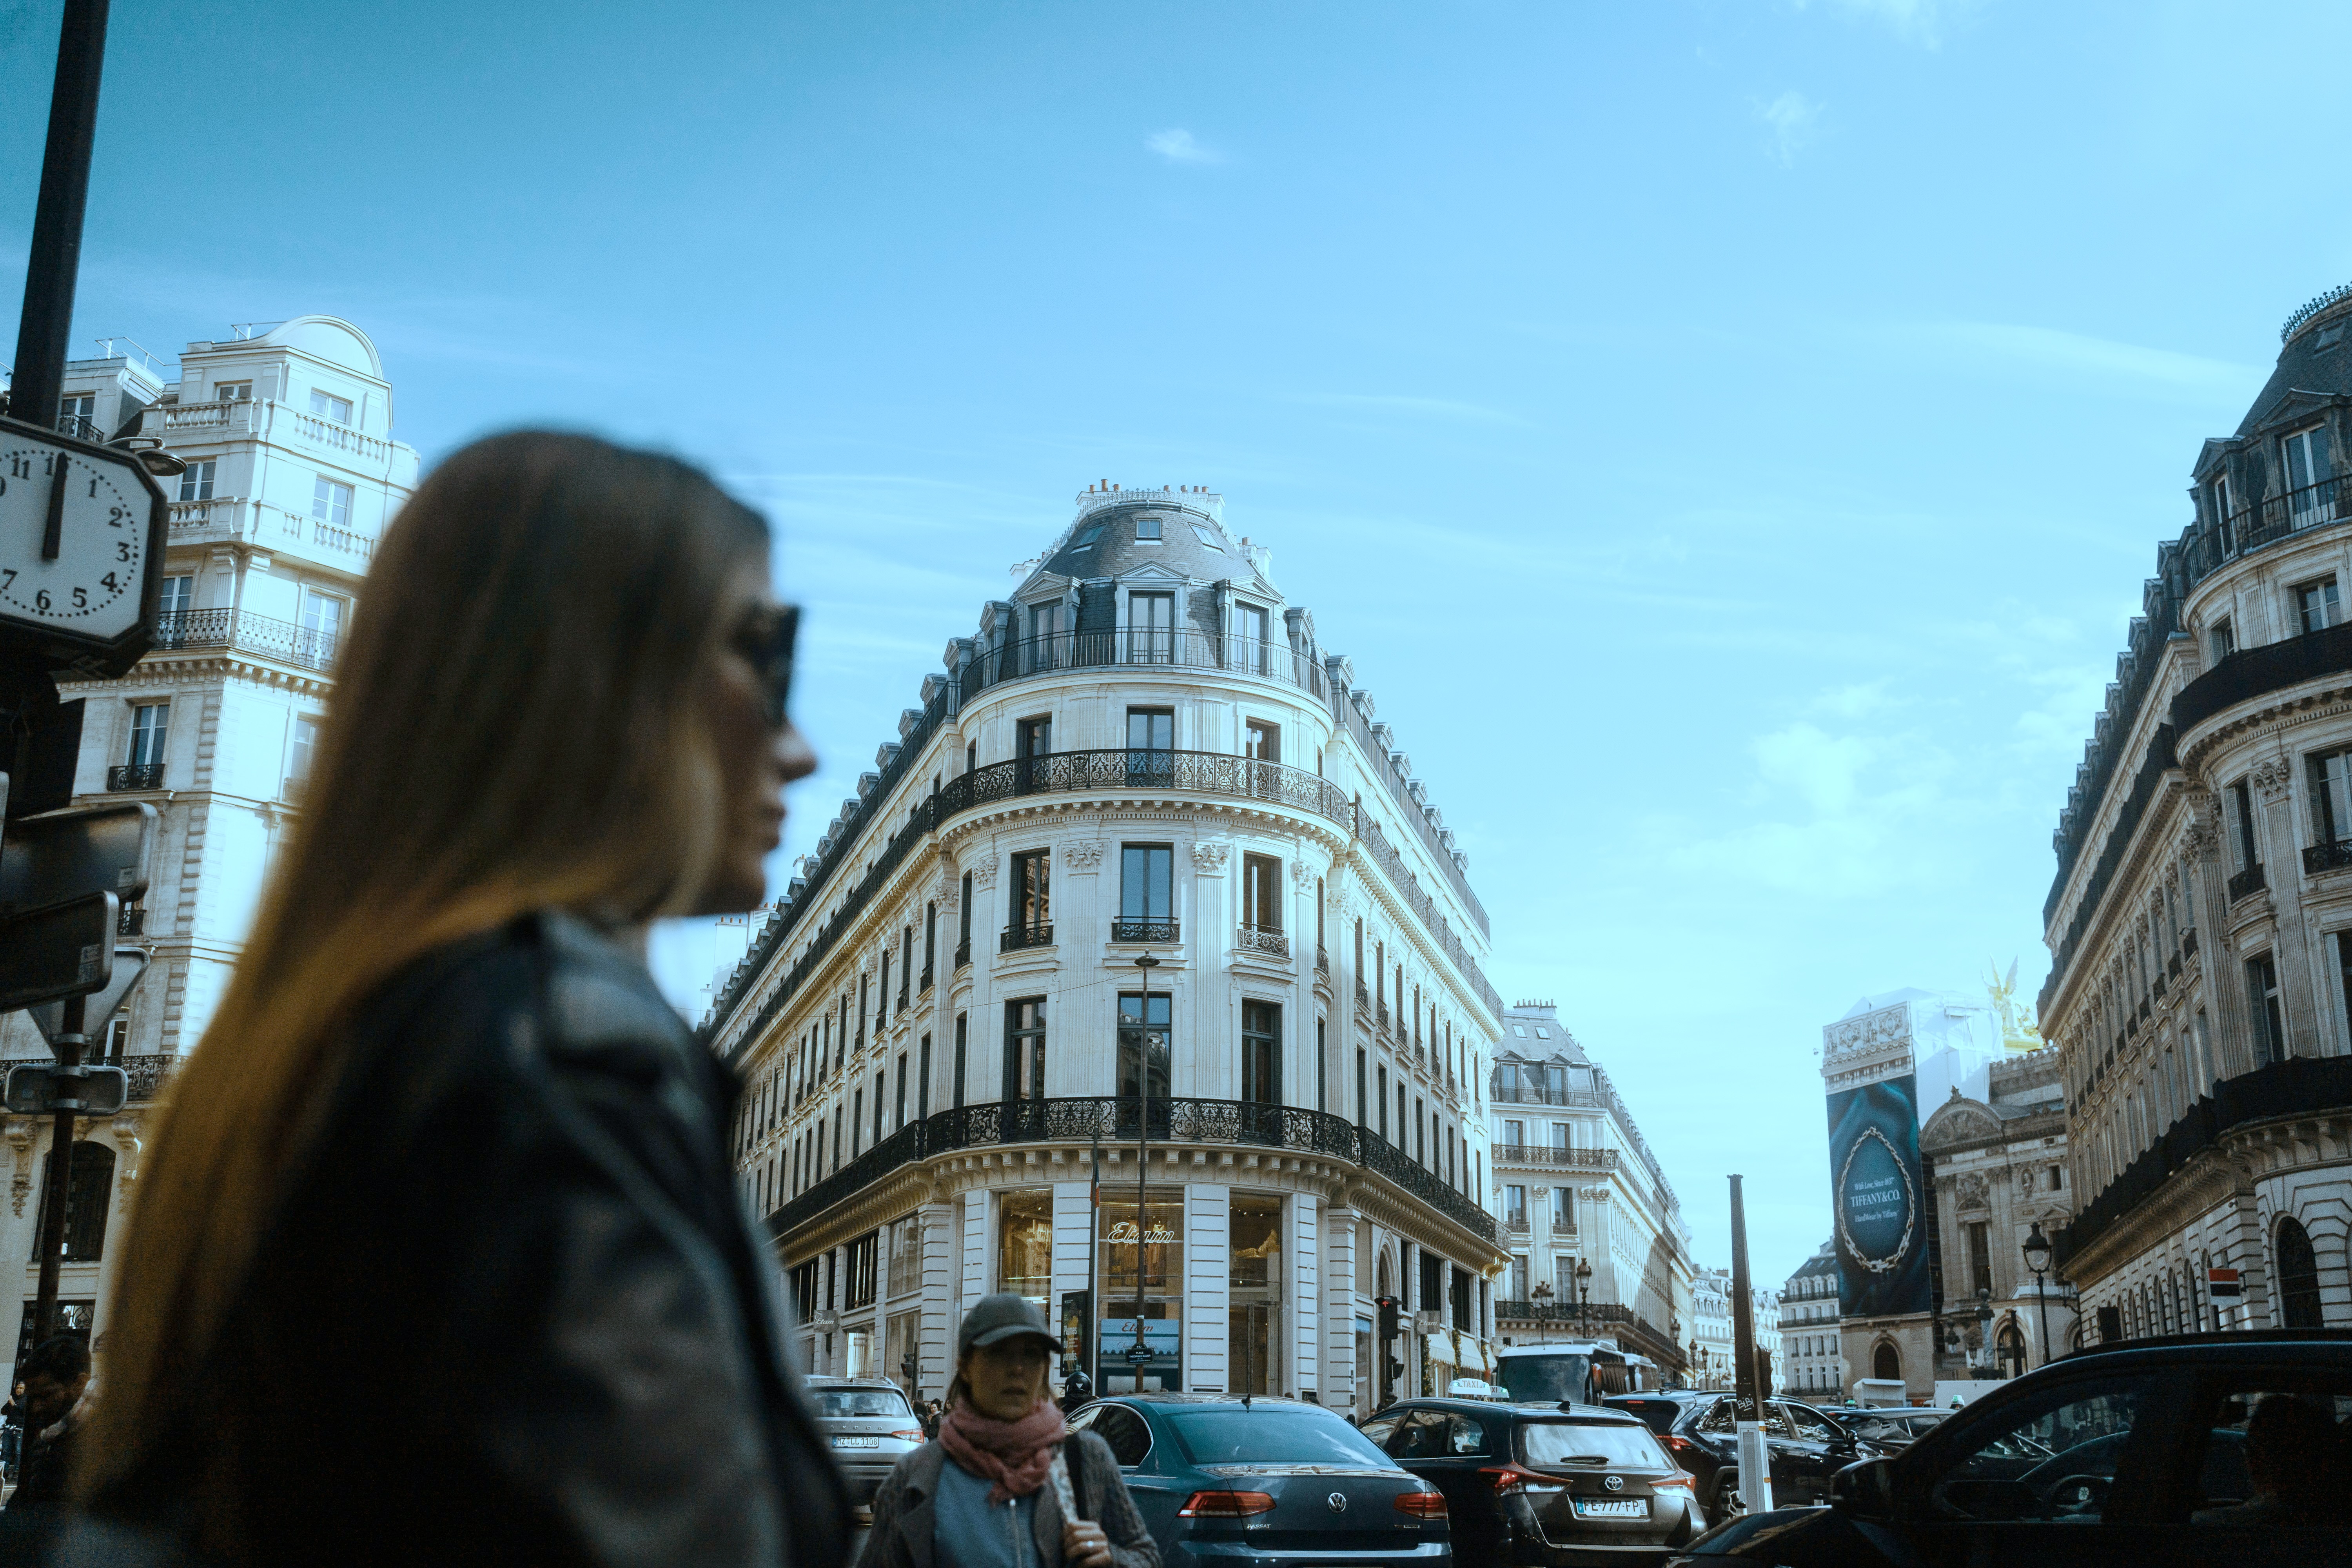
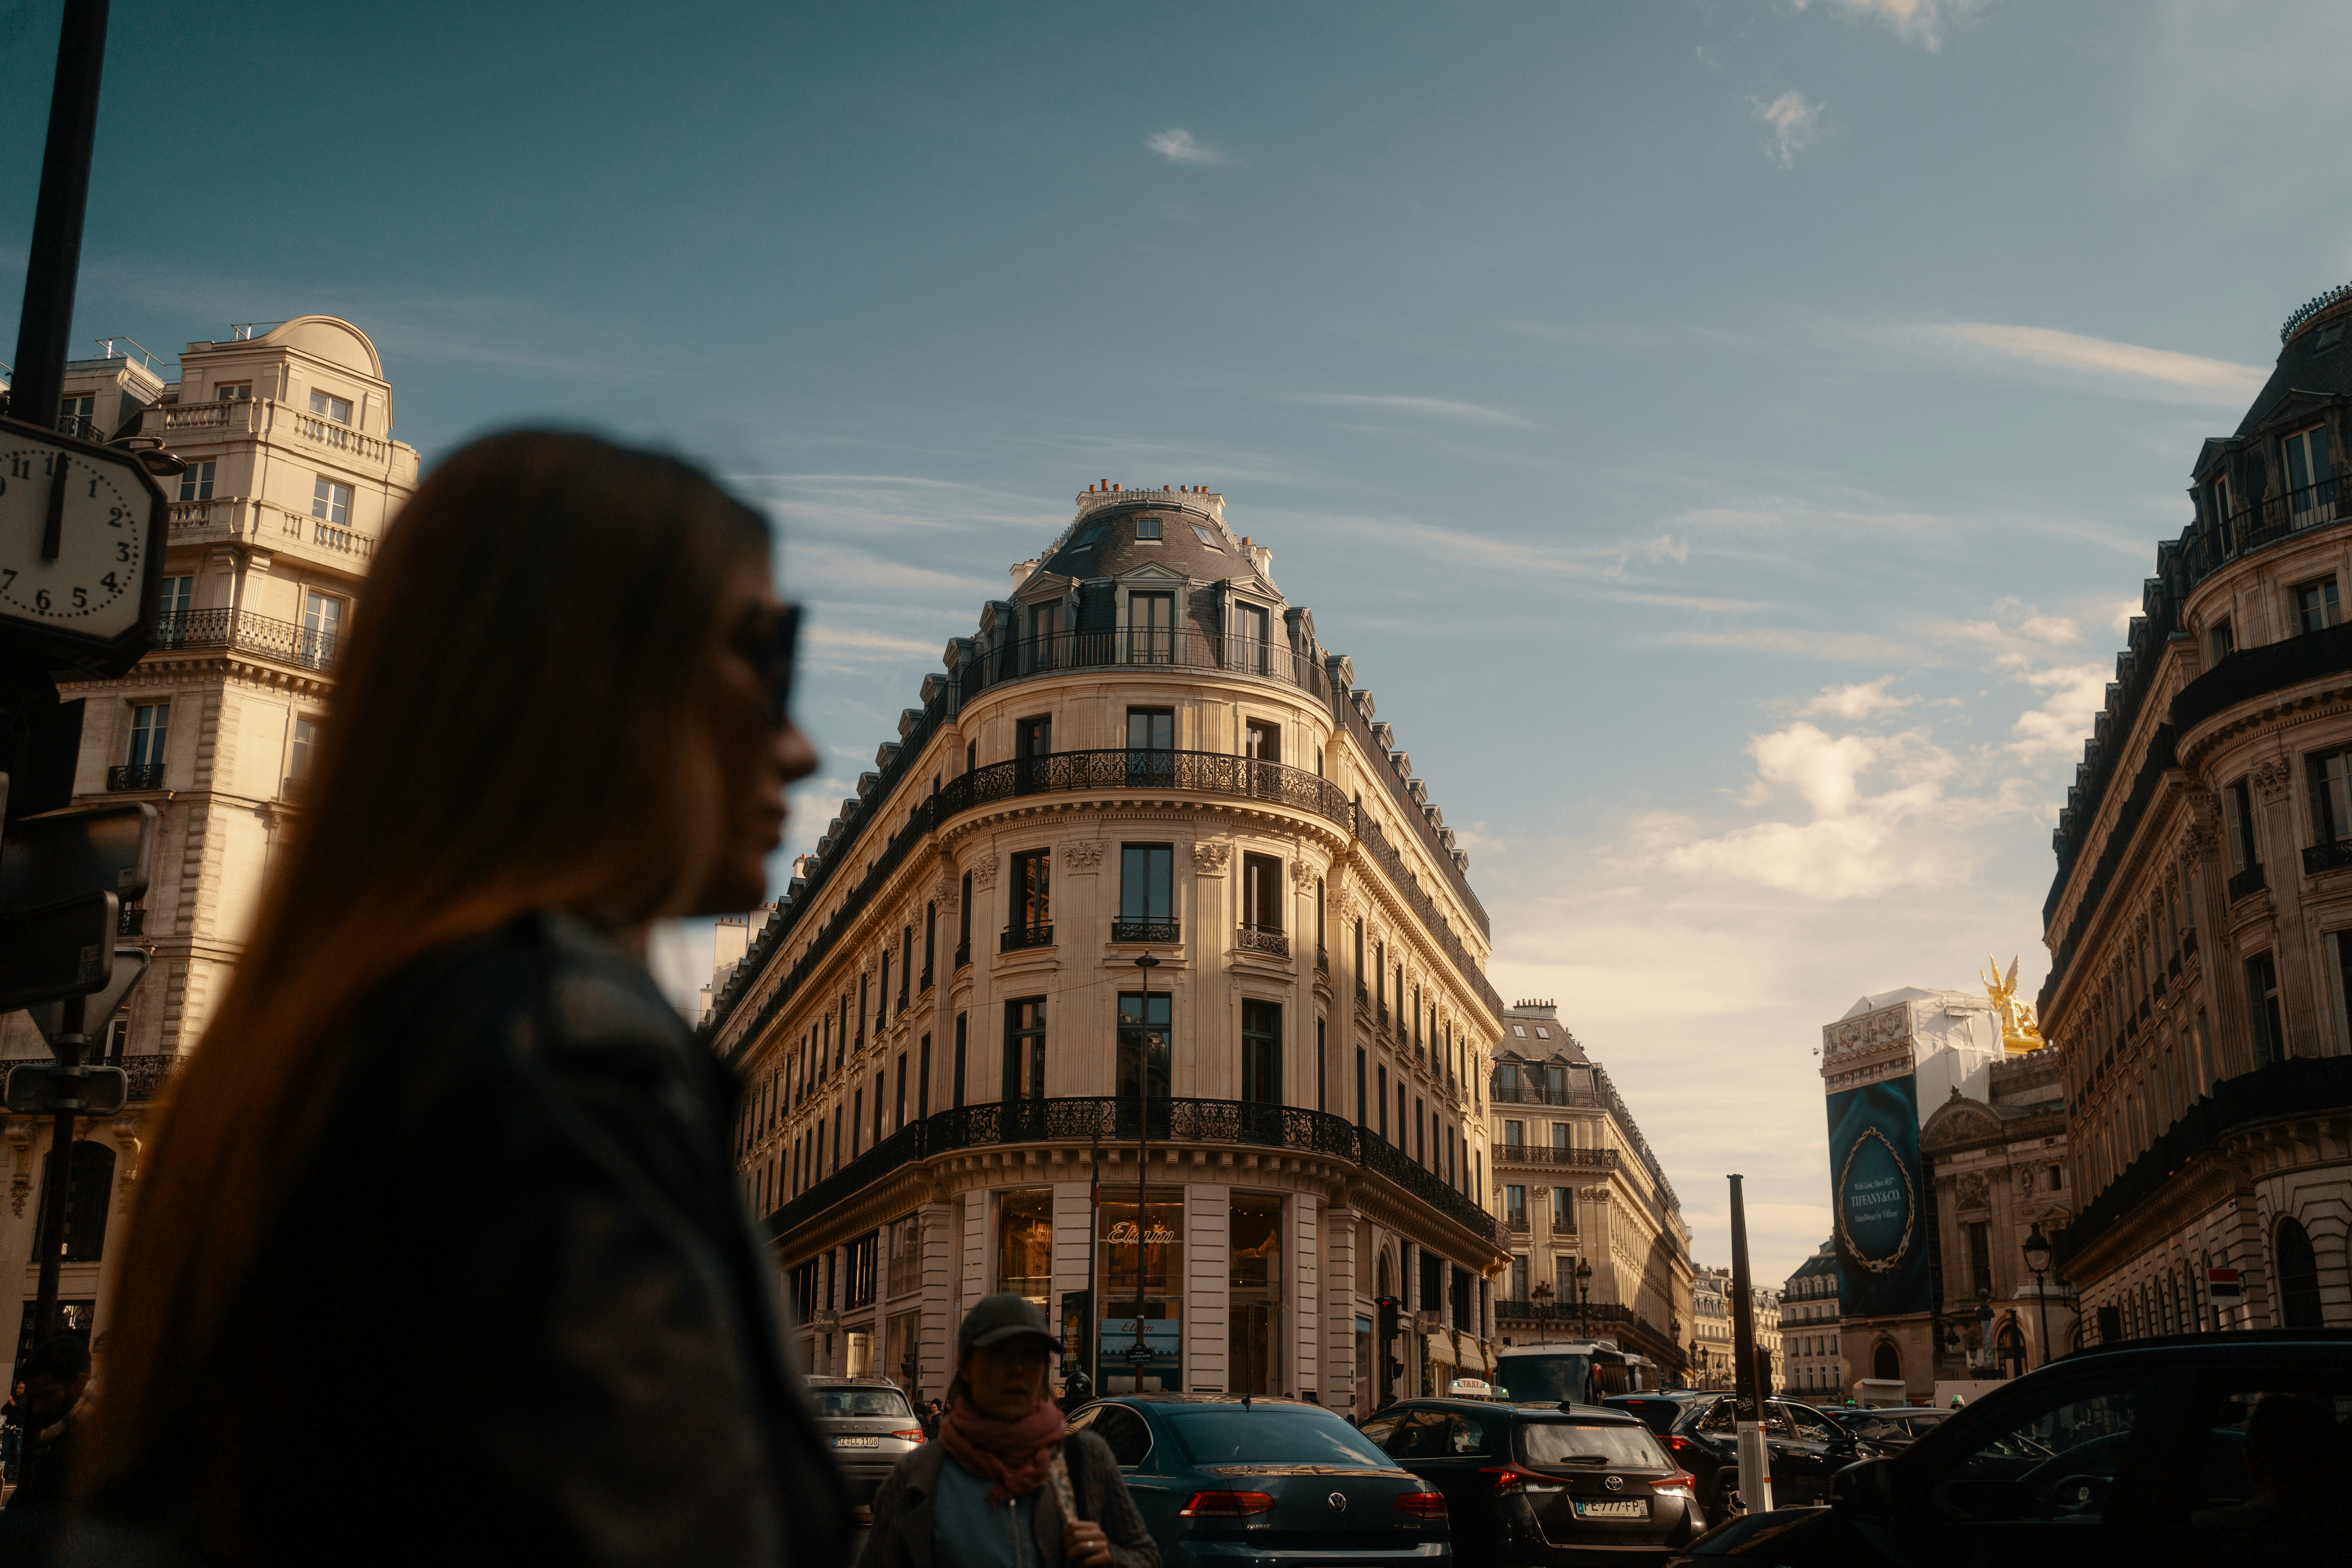
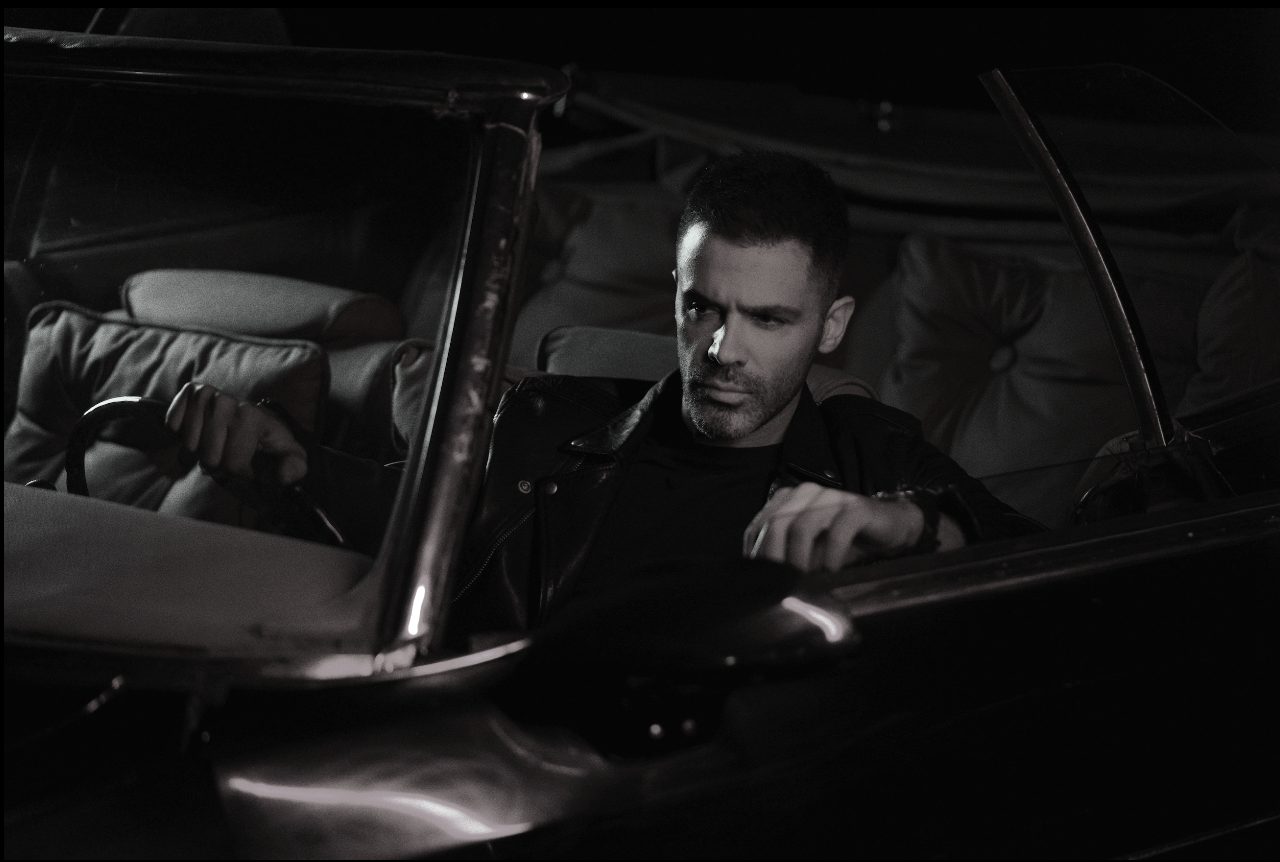
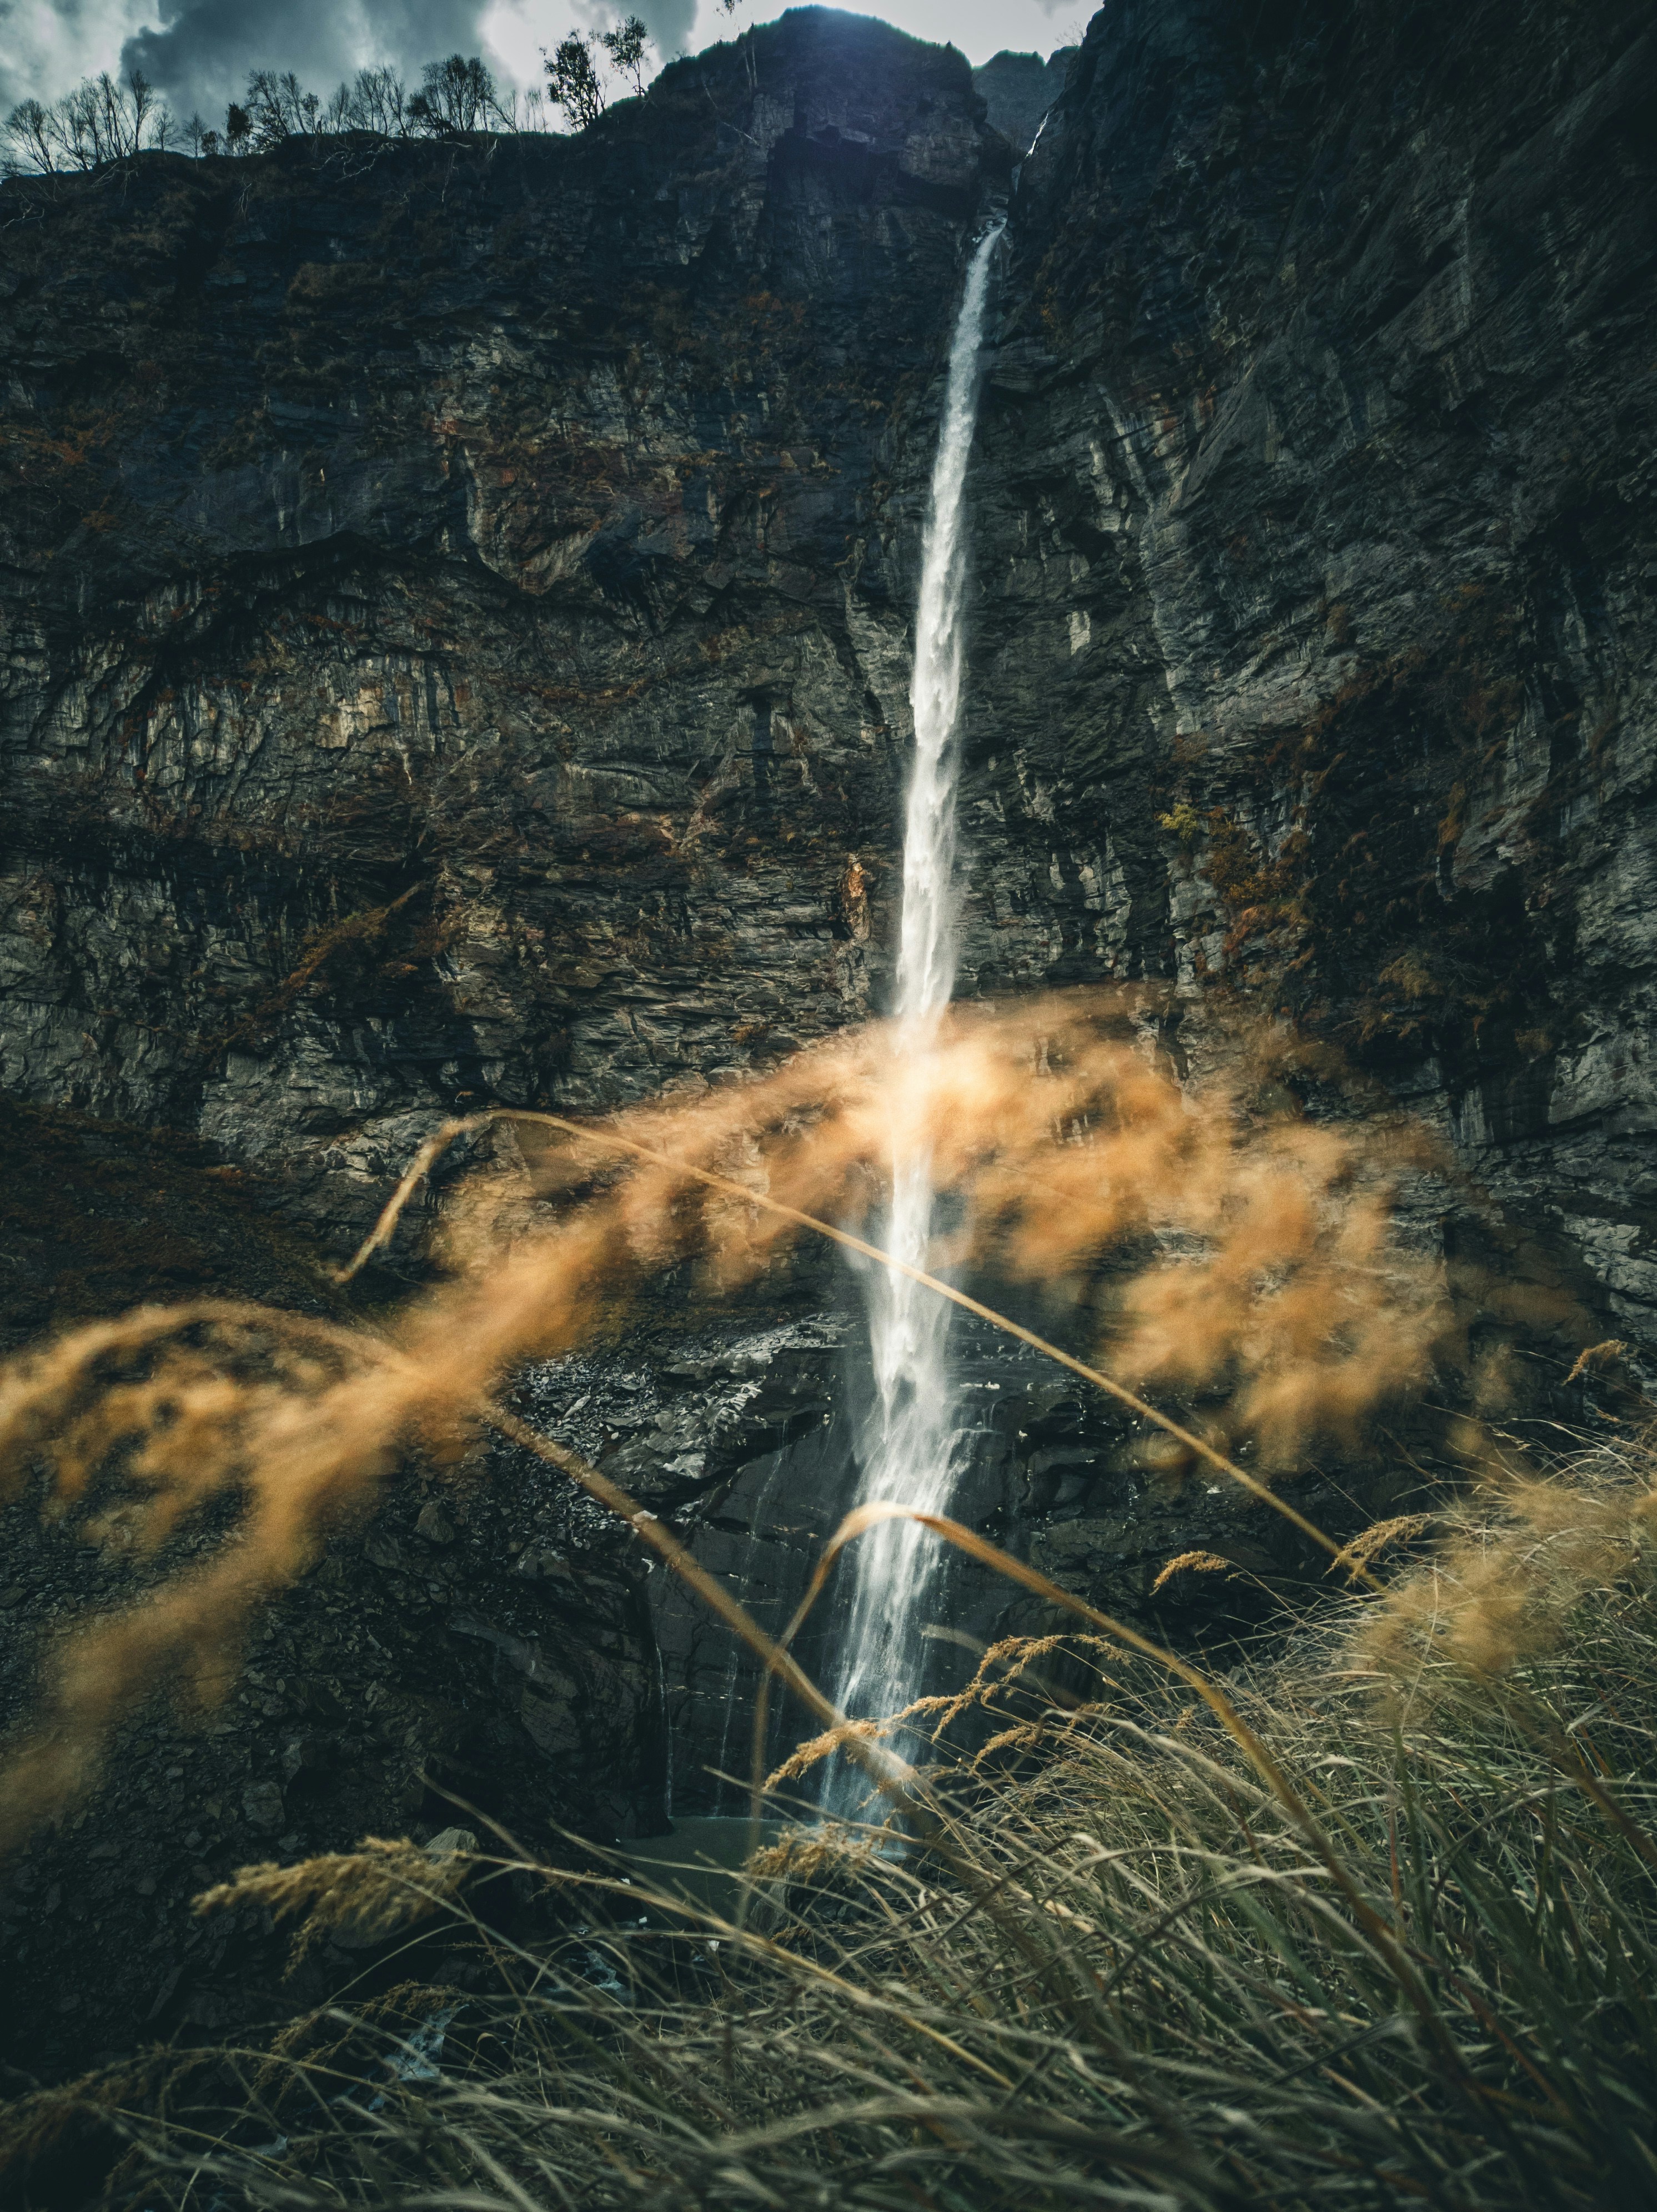
 VEL_Classic_Teal_Orange.cube
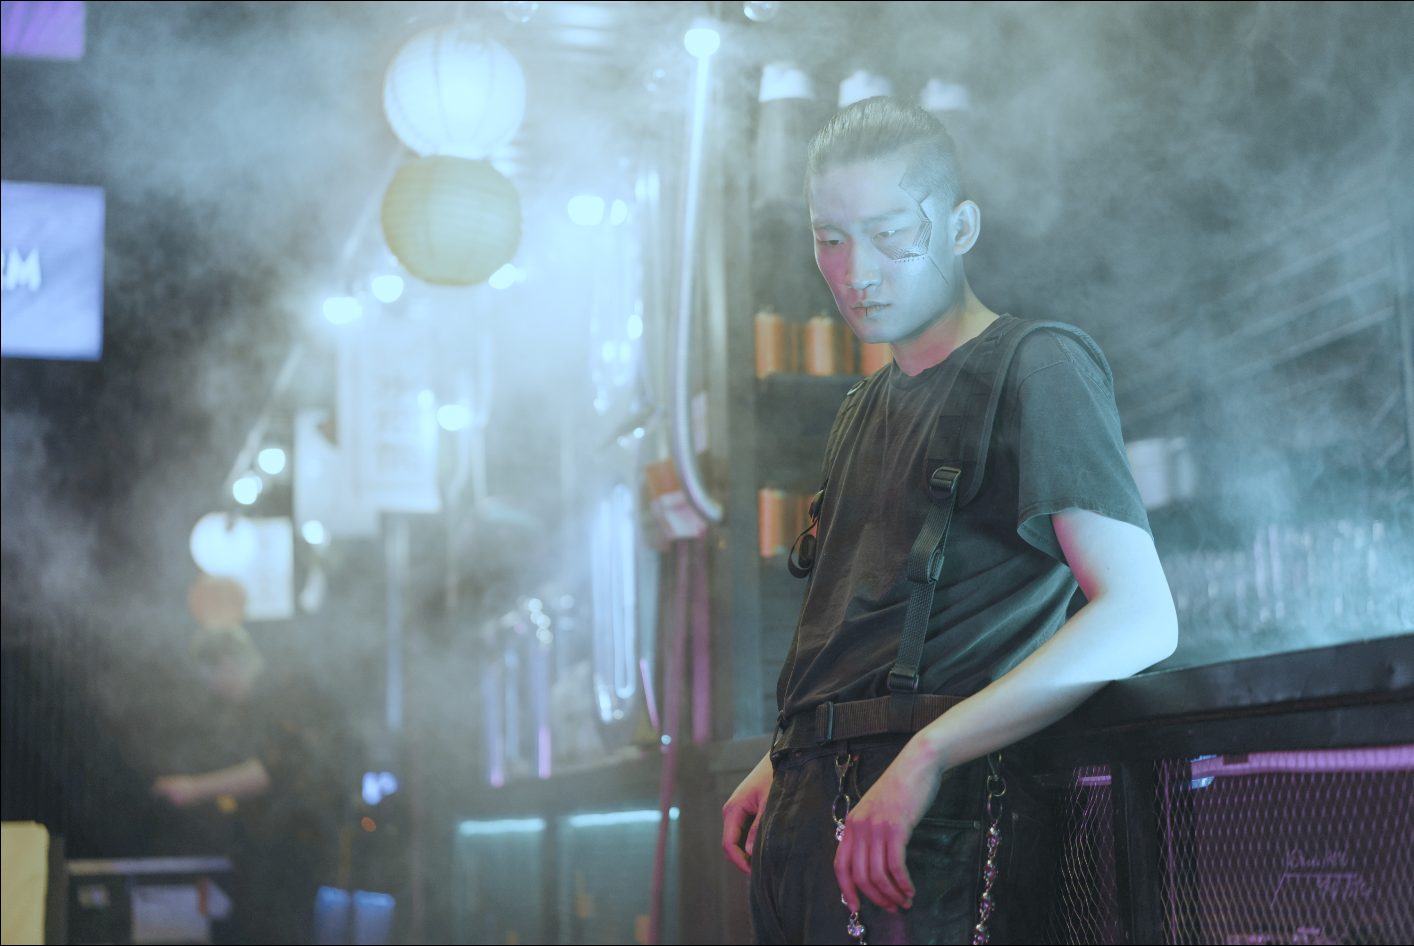
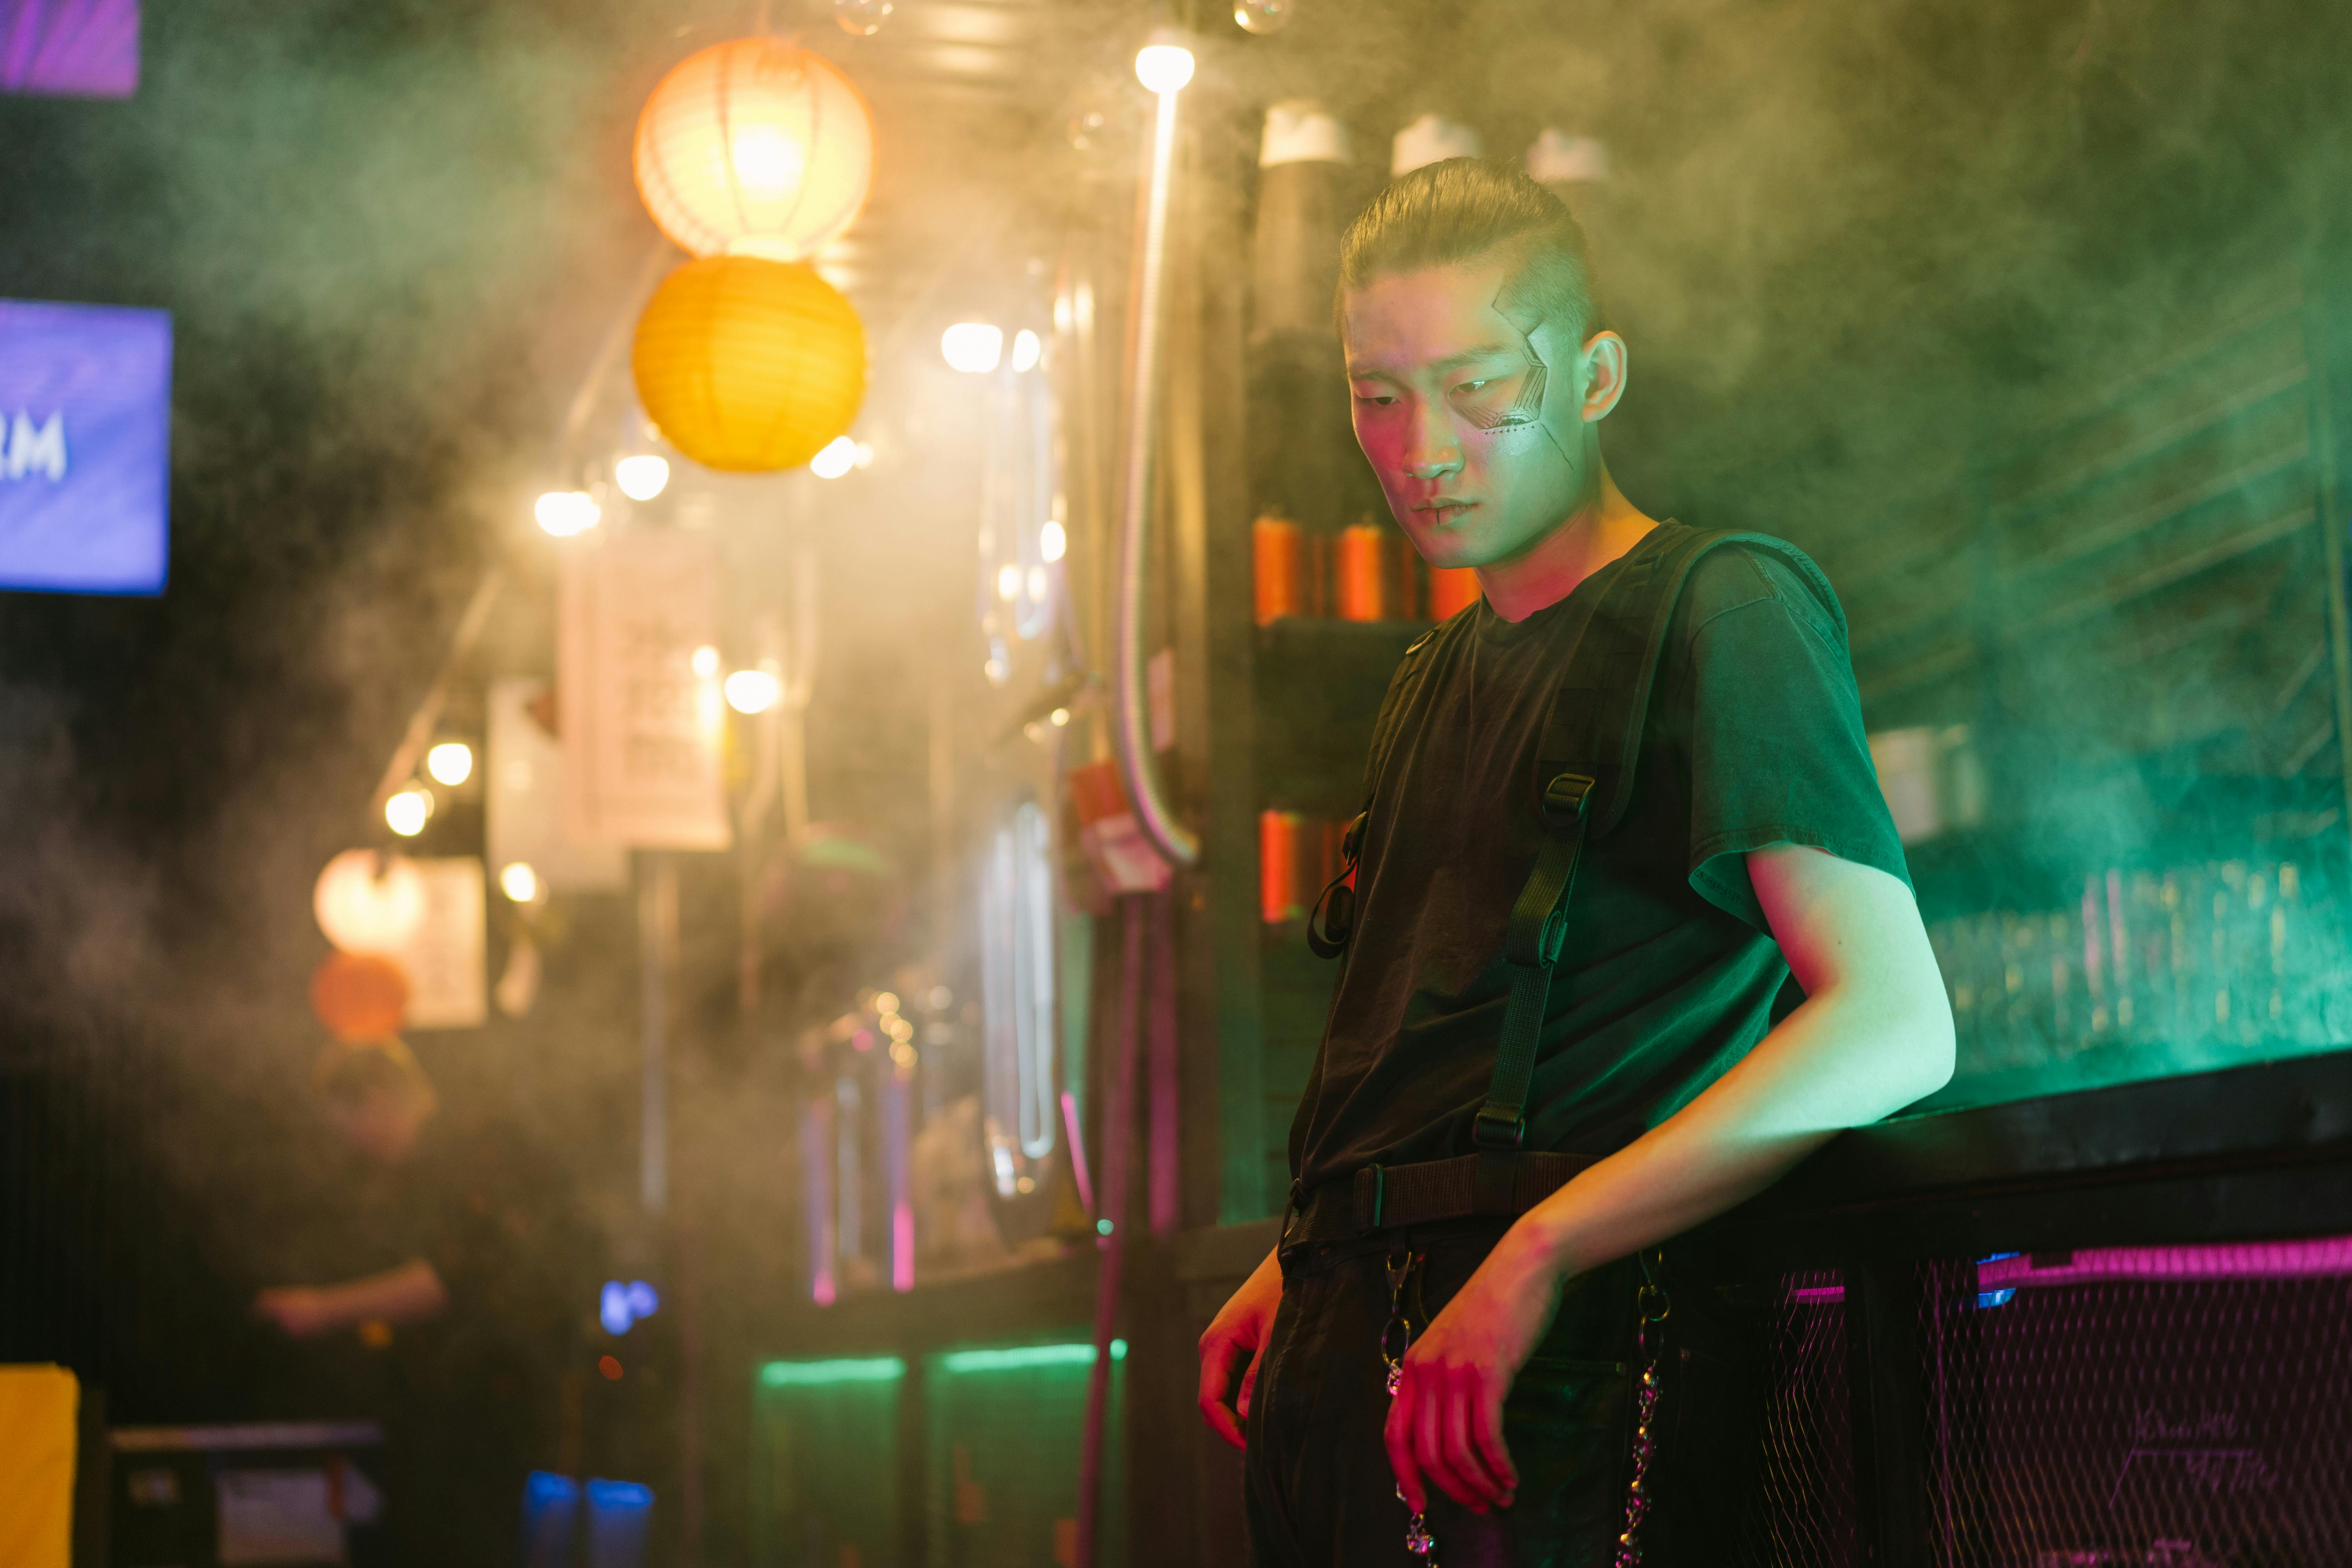
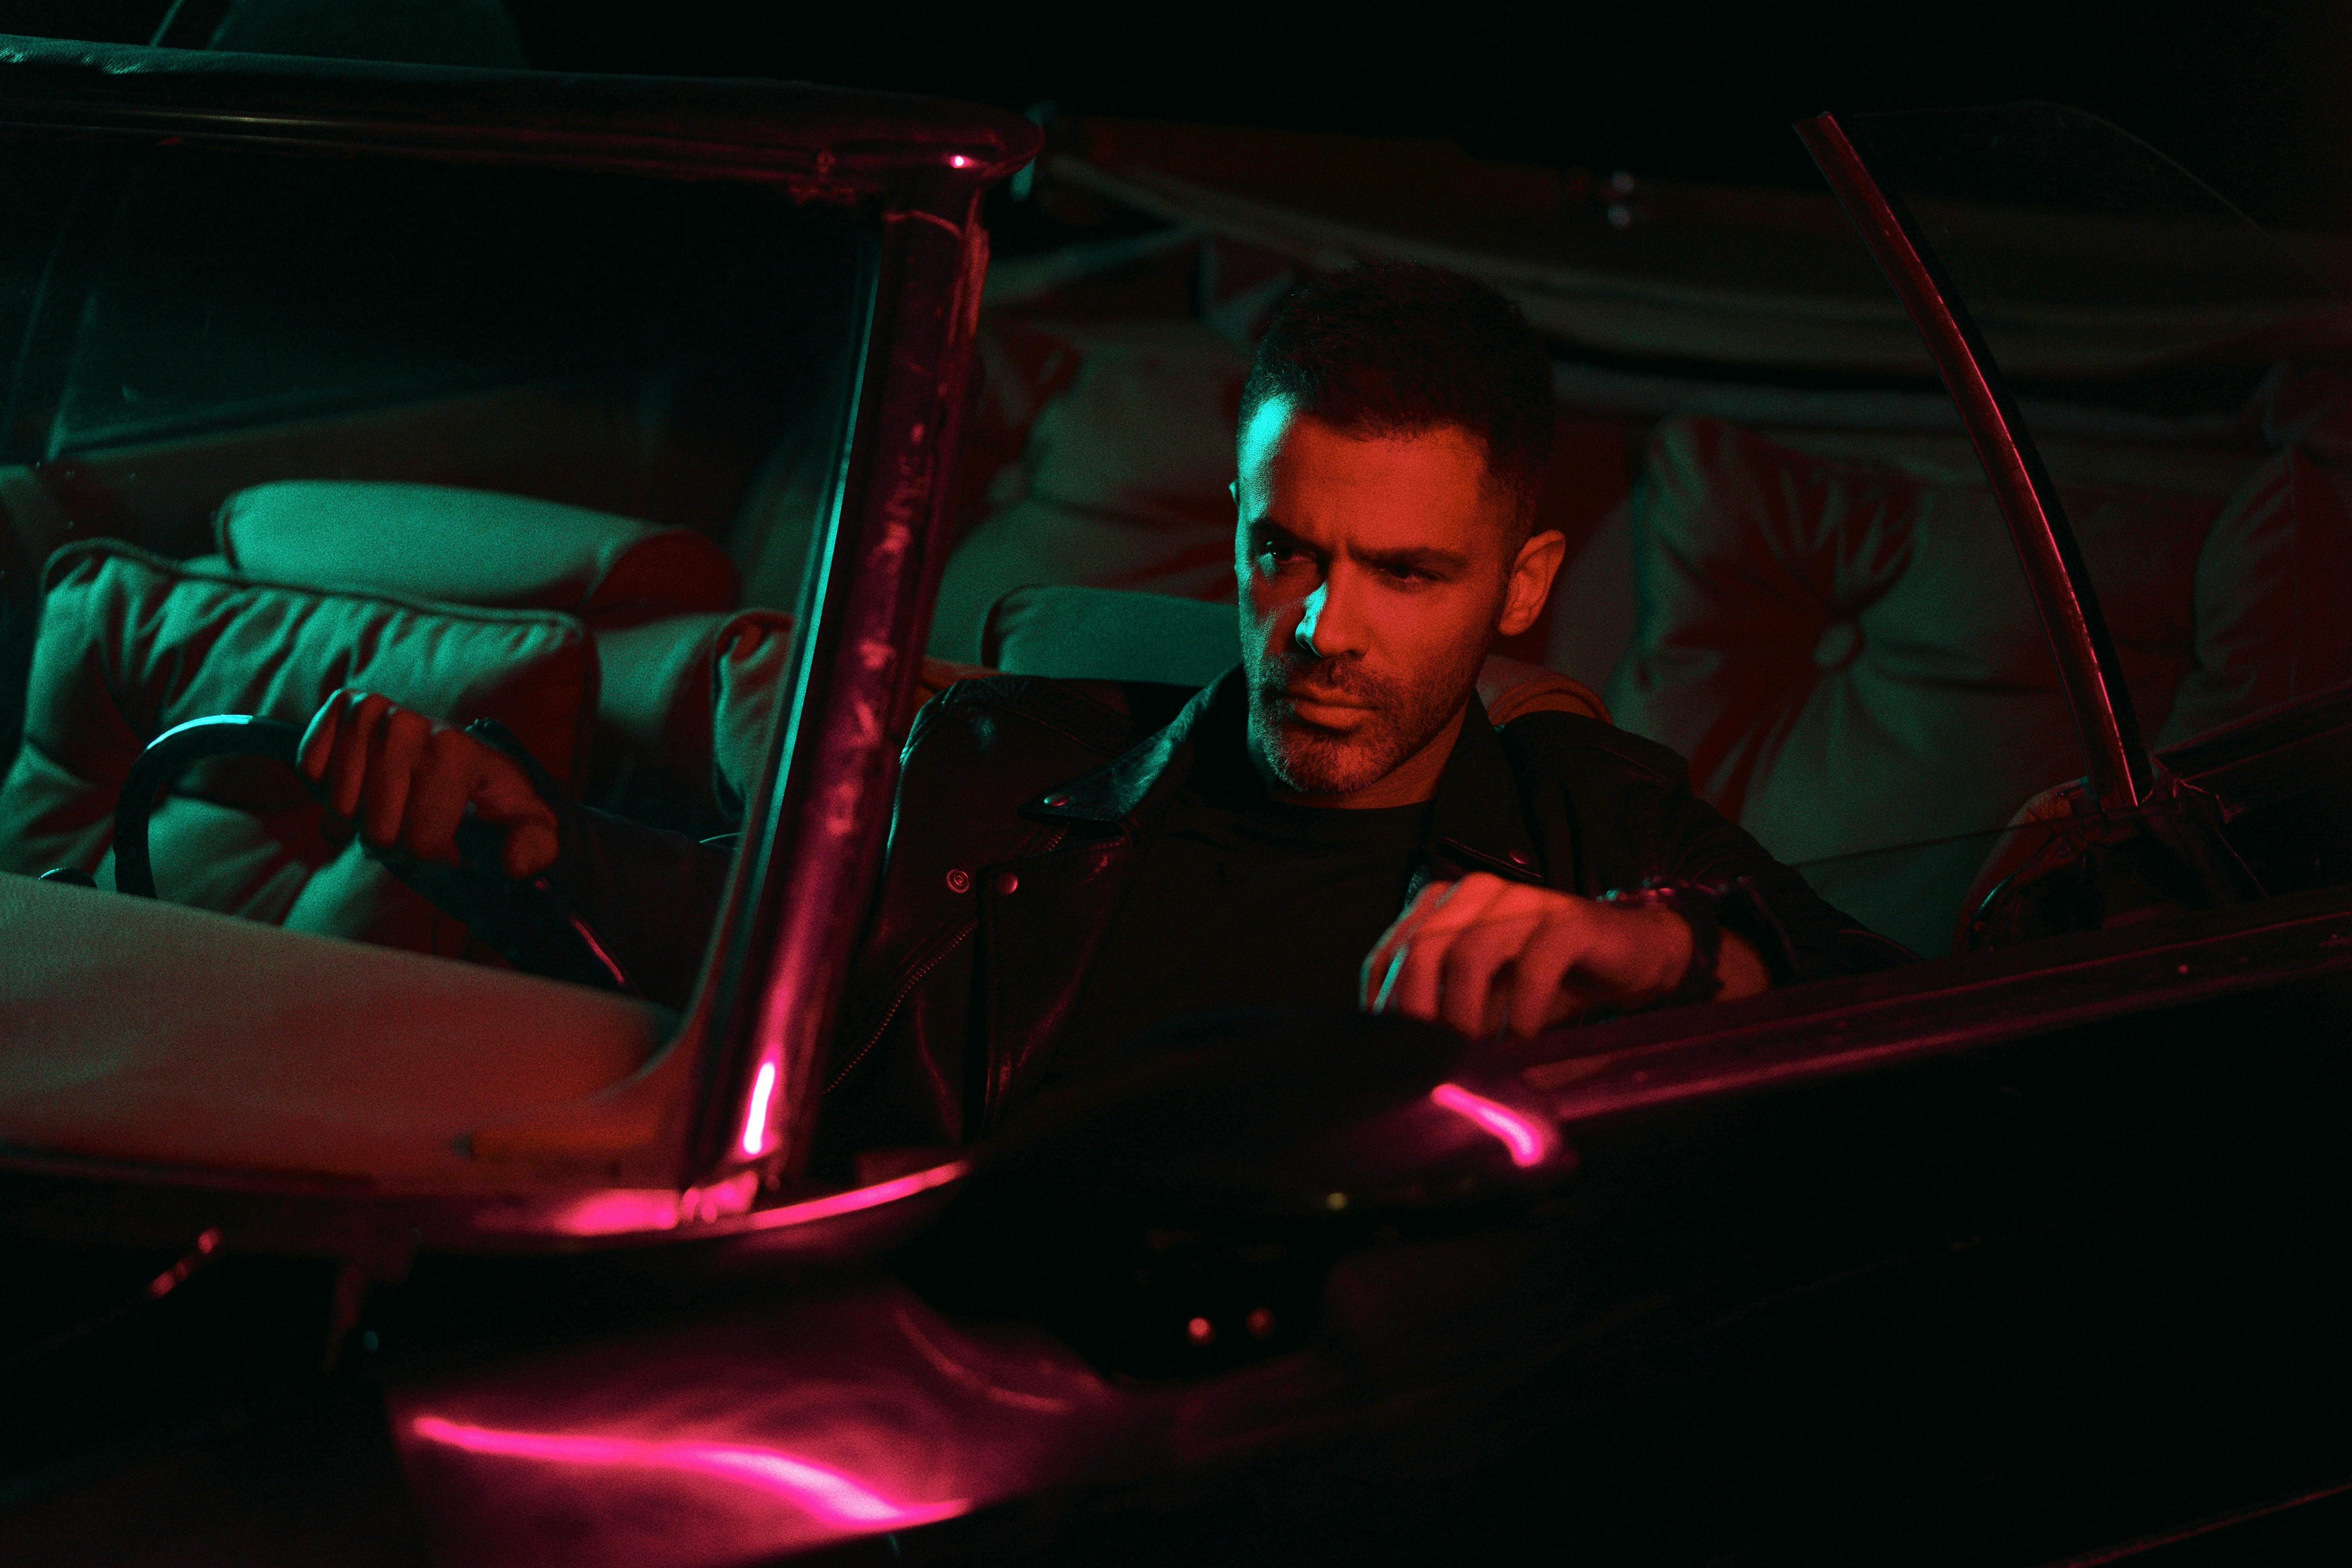
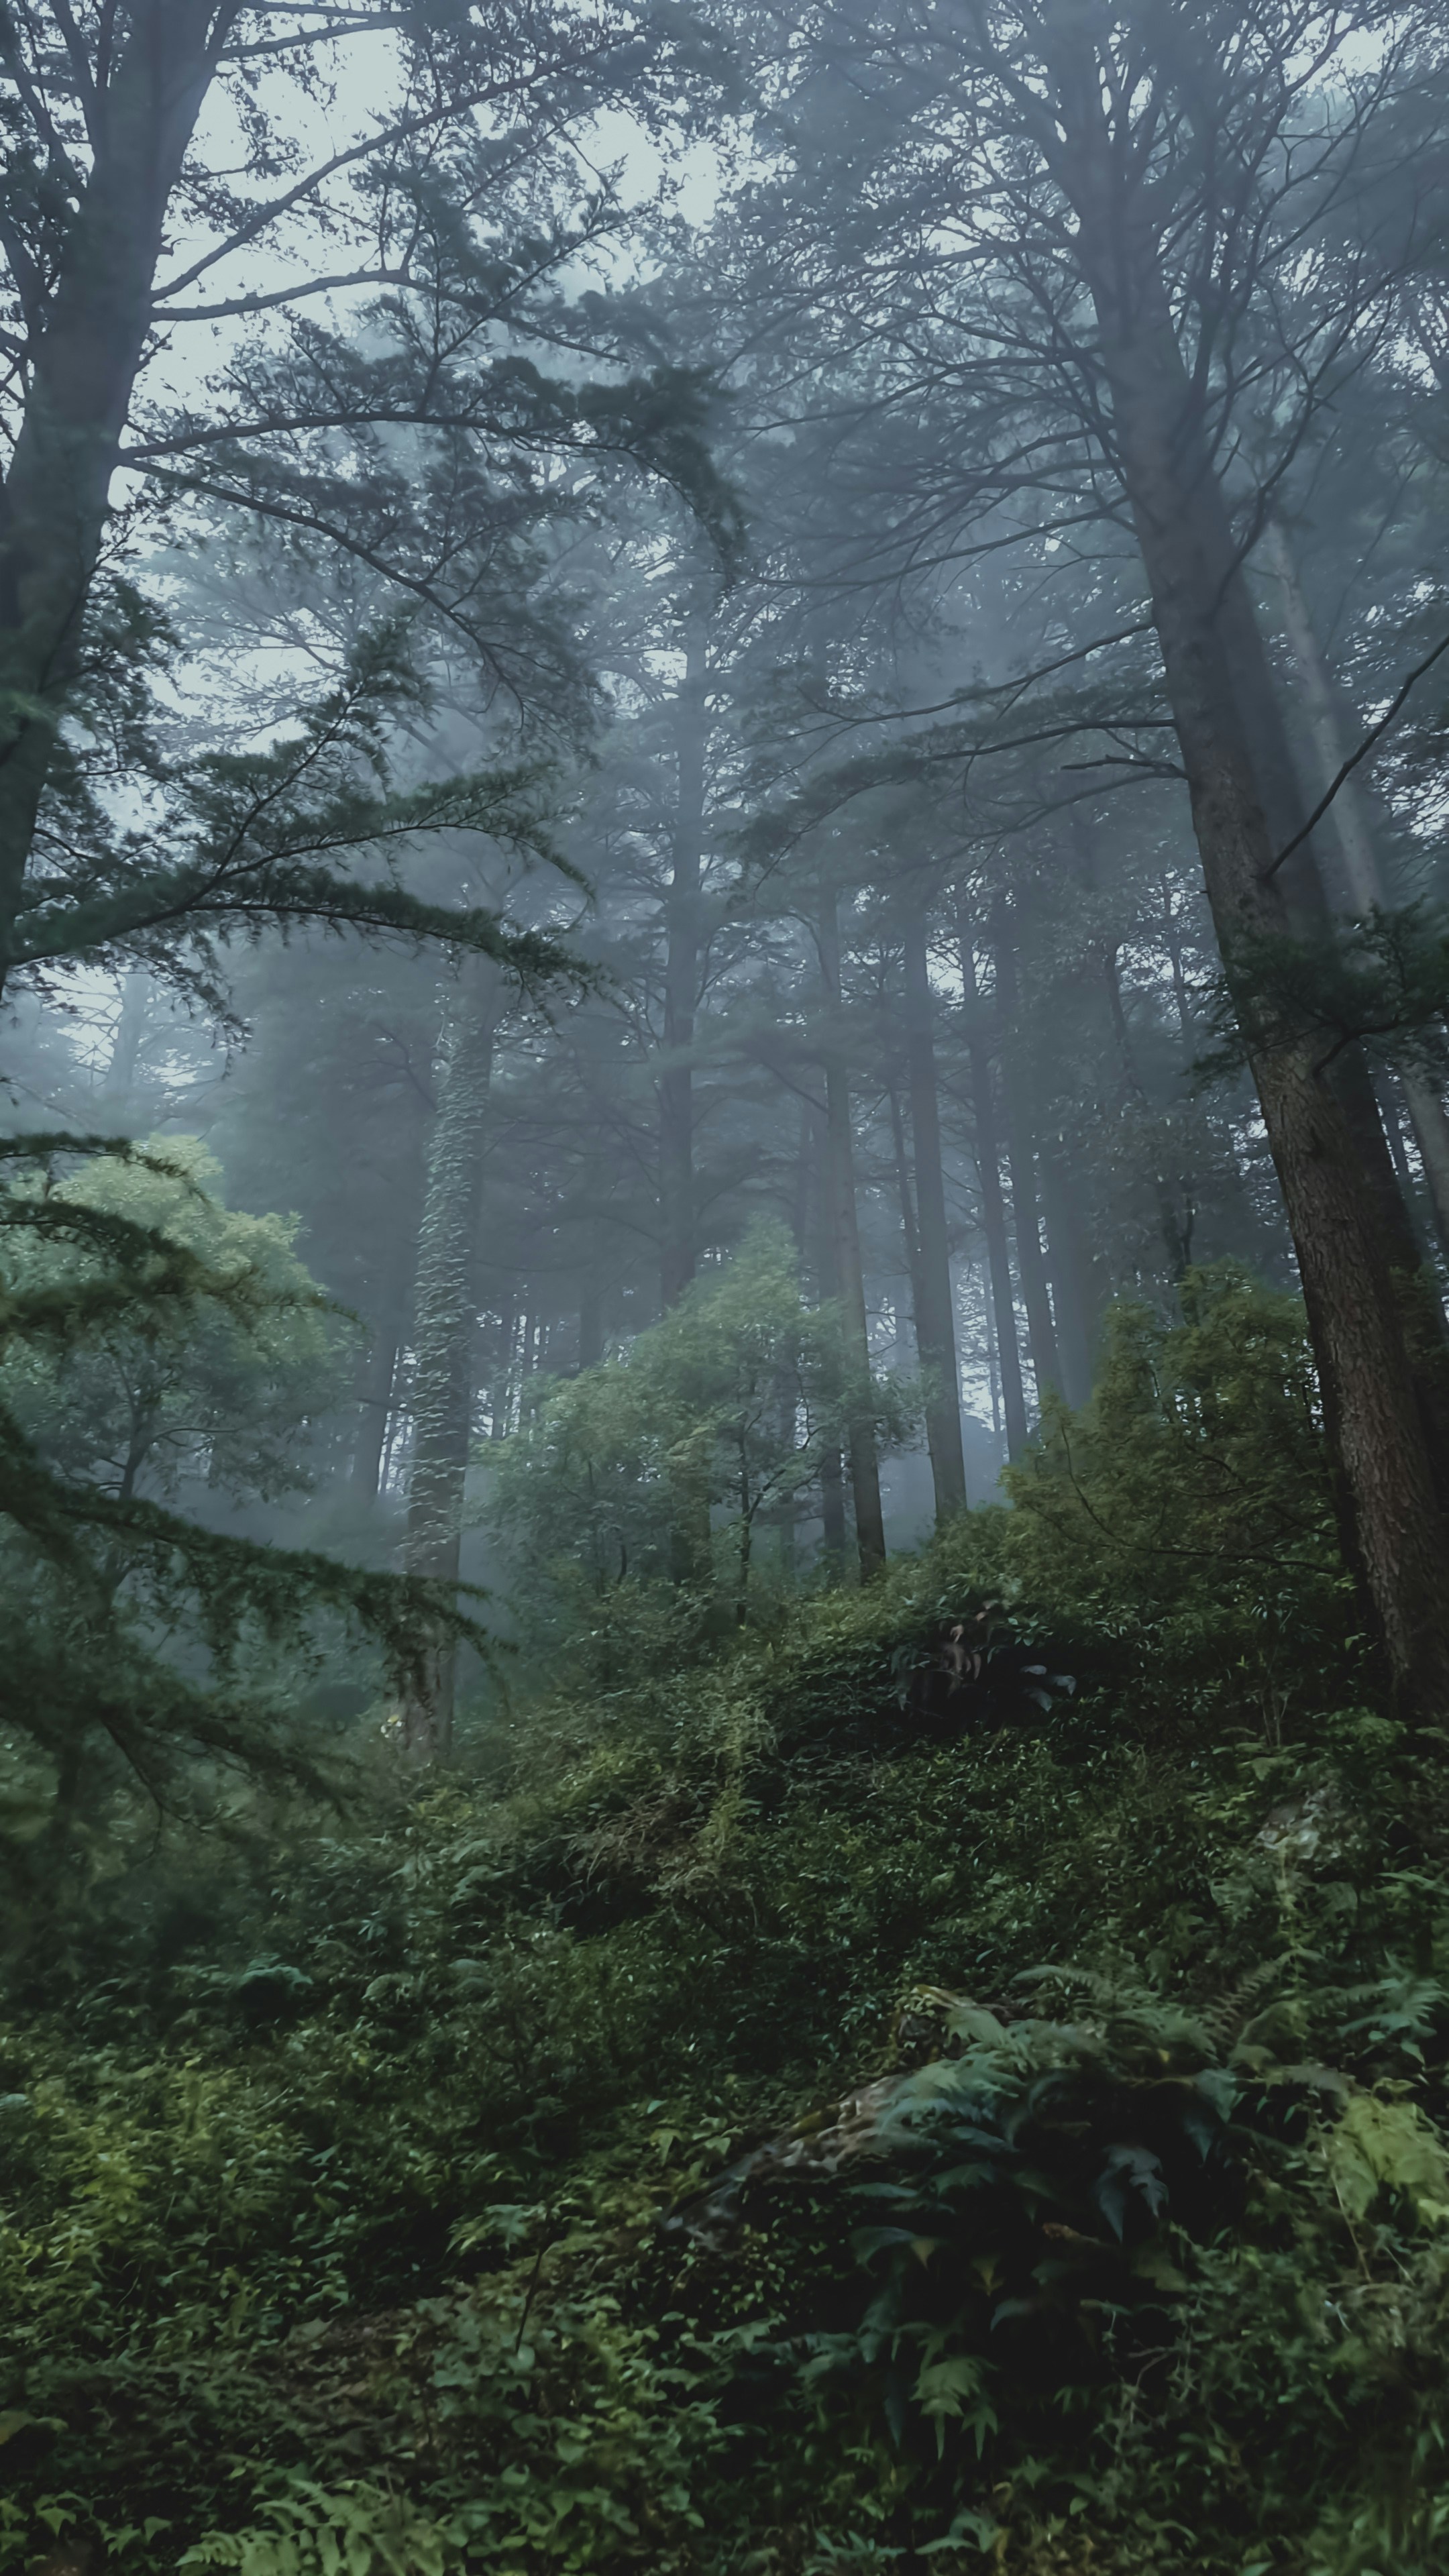
 YT_Moody_Dark.cube
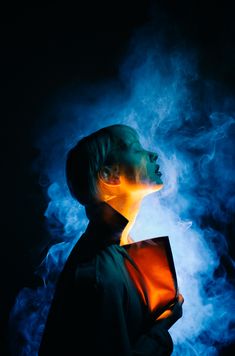
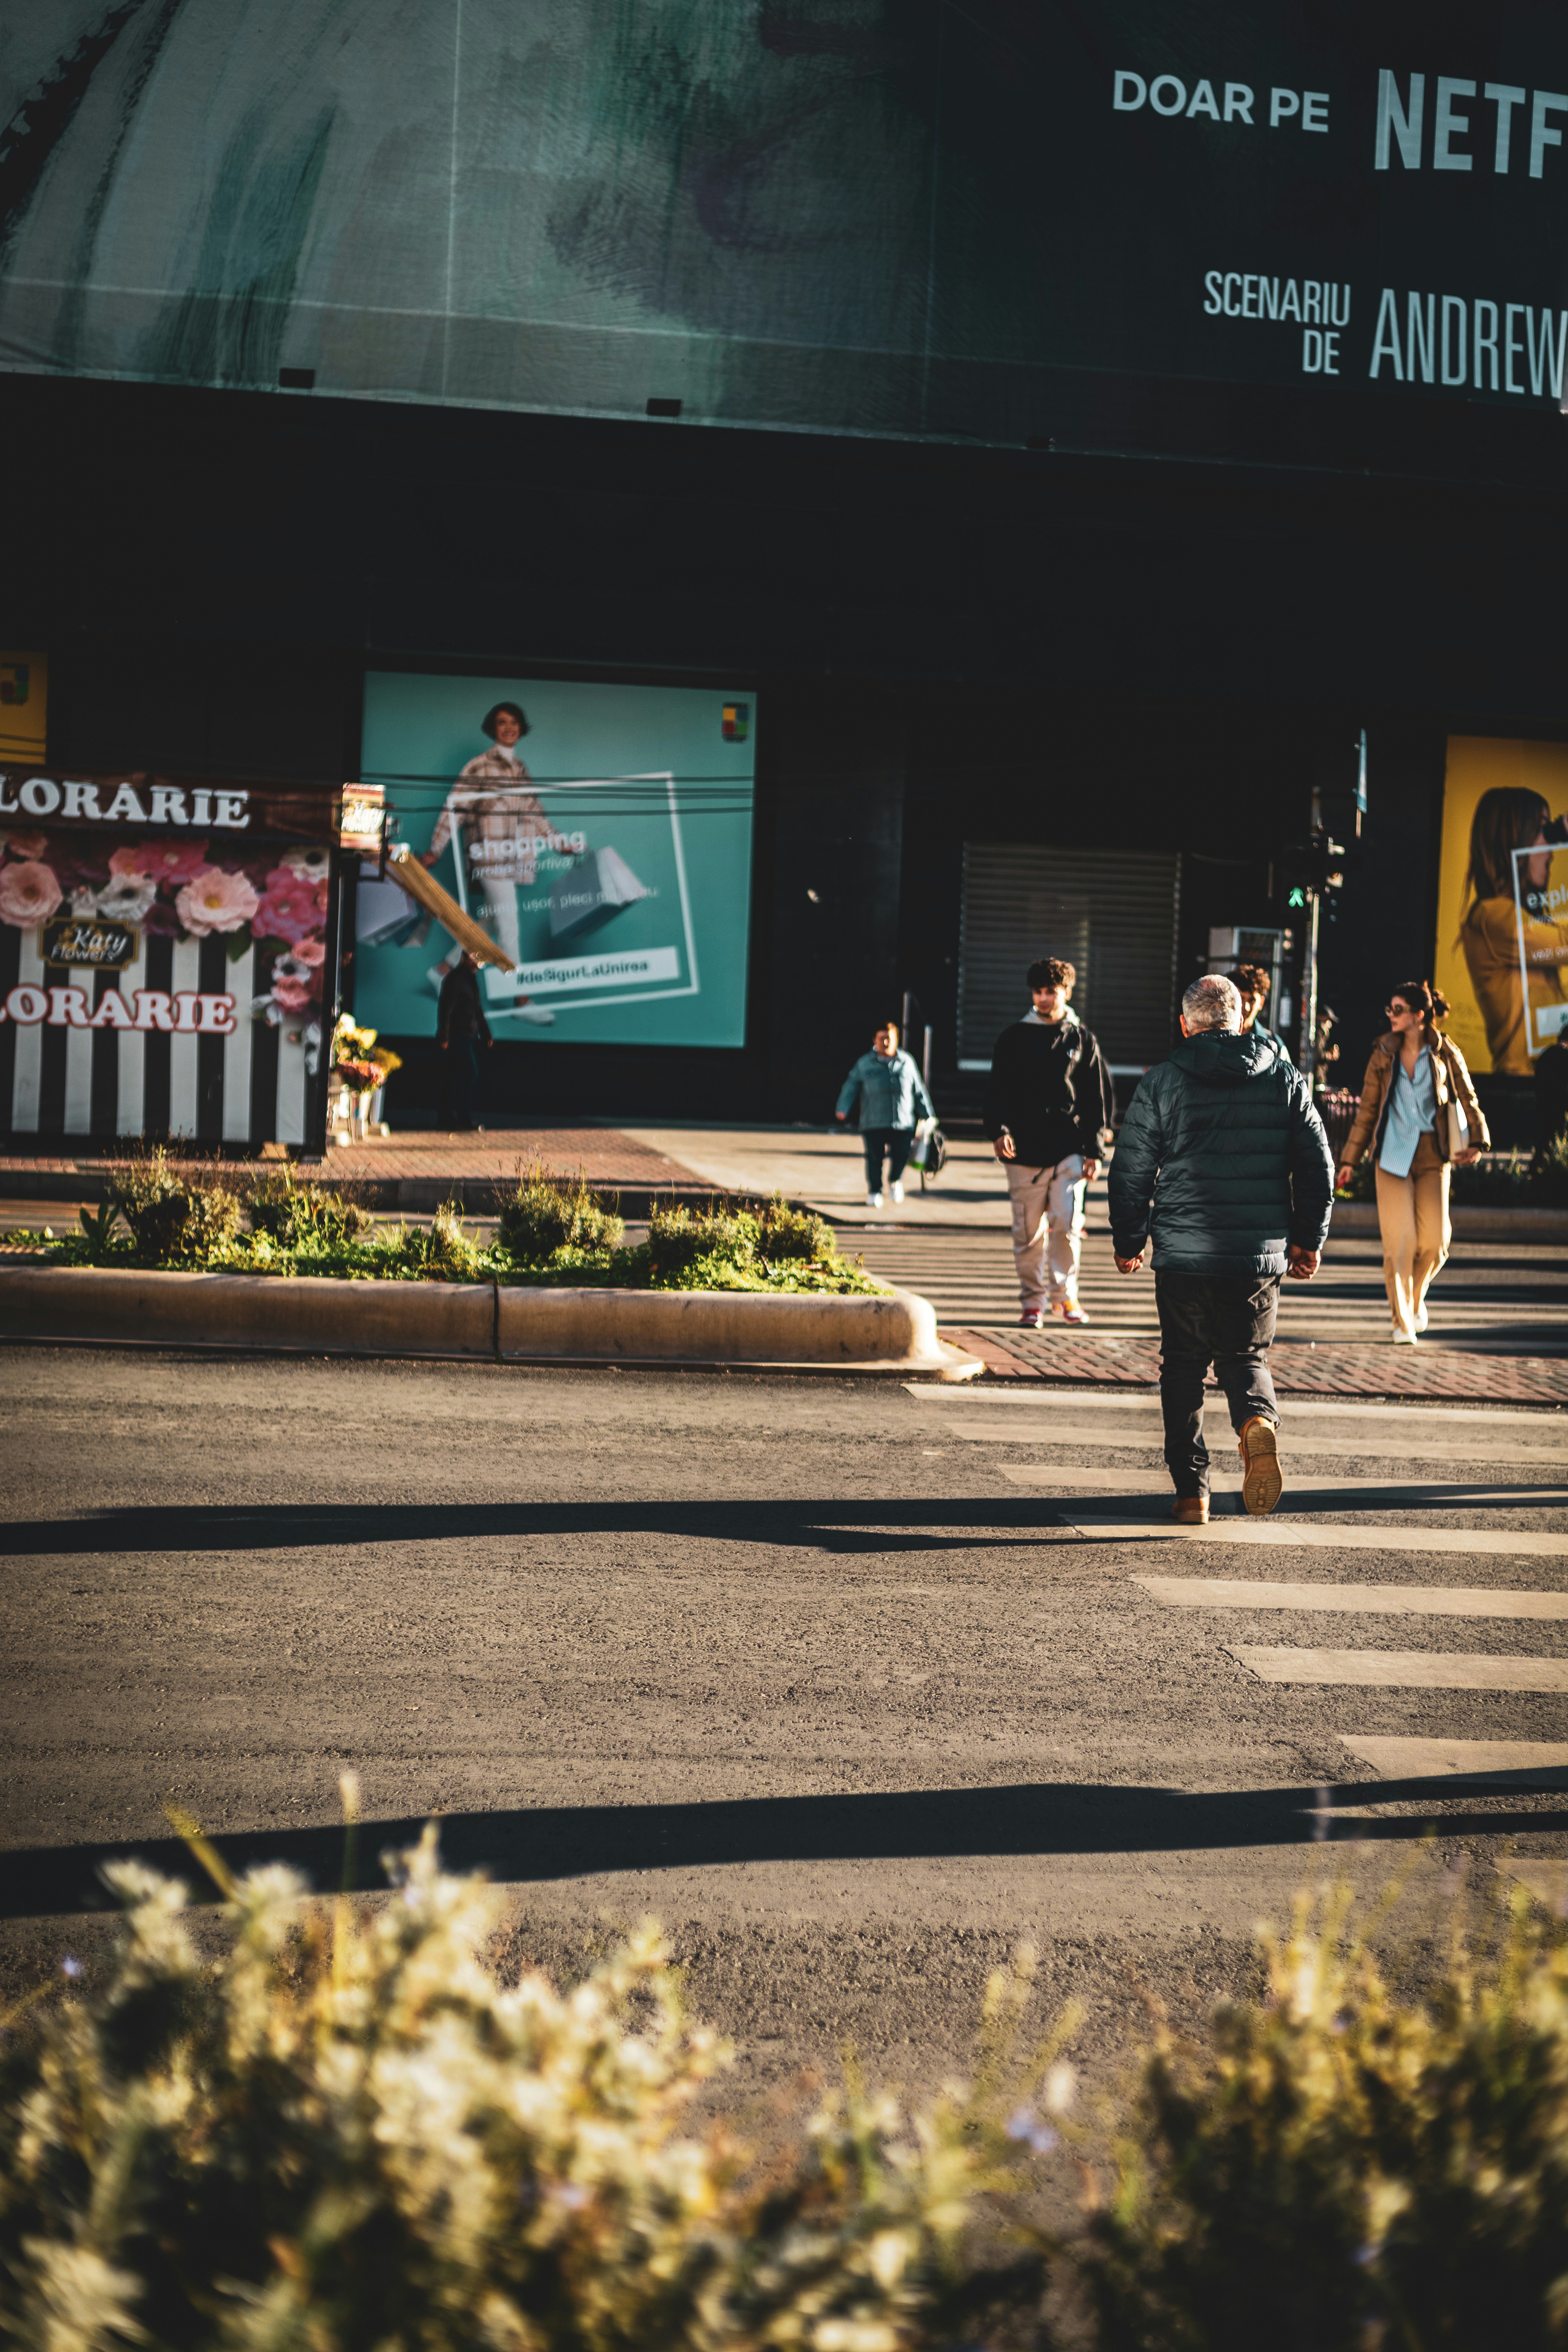
 VEL_Film_Print_01.cube