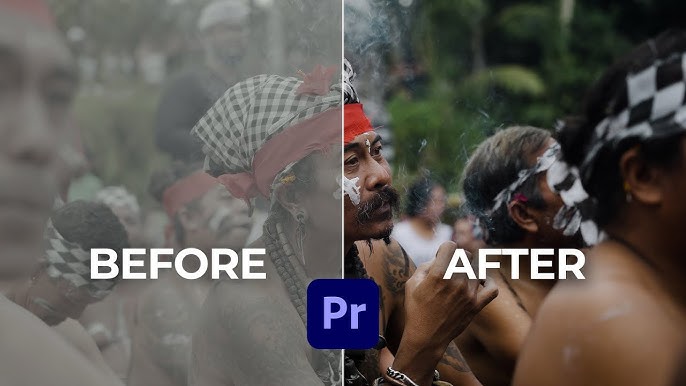
The full VideoEditingLUTs pack — 12 professional .cube presets — loads straight into Lumetri Color. No plugins, no conversion: Premiere Pro reads .cube files natively in every Creative Cloud version.
Or grab three right now — no email: Classic Teal & Orange · Moody Dark · Vintage Chrome
For multi-clip edits, don’t grade clip by clip. Create an adjustment layer (File → New → Adjustment Layer), stretch it across your timeline, and apply Lumetri with the LUT to that layer — every clip underneath inherits the grade, and one Intensity slider controls the whole video.
Keep per-clip corrections separate: white balance and exposure fixes live on the clips themselves, the LUT lives on the adjustment layer above. That separation means swapping the look later is one change instead of fifty.
For a quick alternative on smaller edits, grade one clip, then select the rest and use Edit → Paste Attributes to copy the Lumetri effect across — just remember pasted intensity won’t adapt to differently-exposed shots.
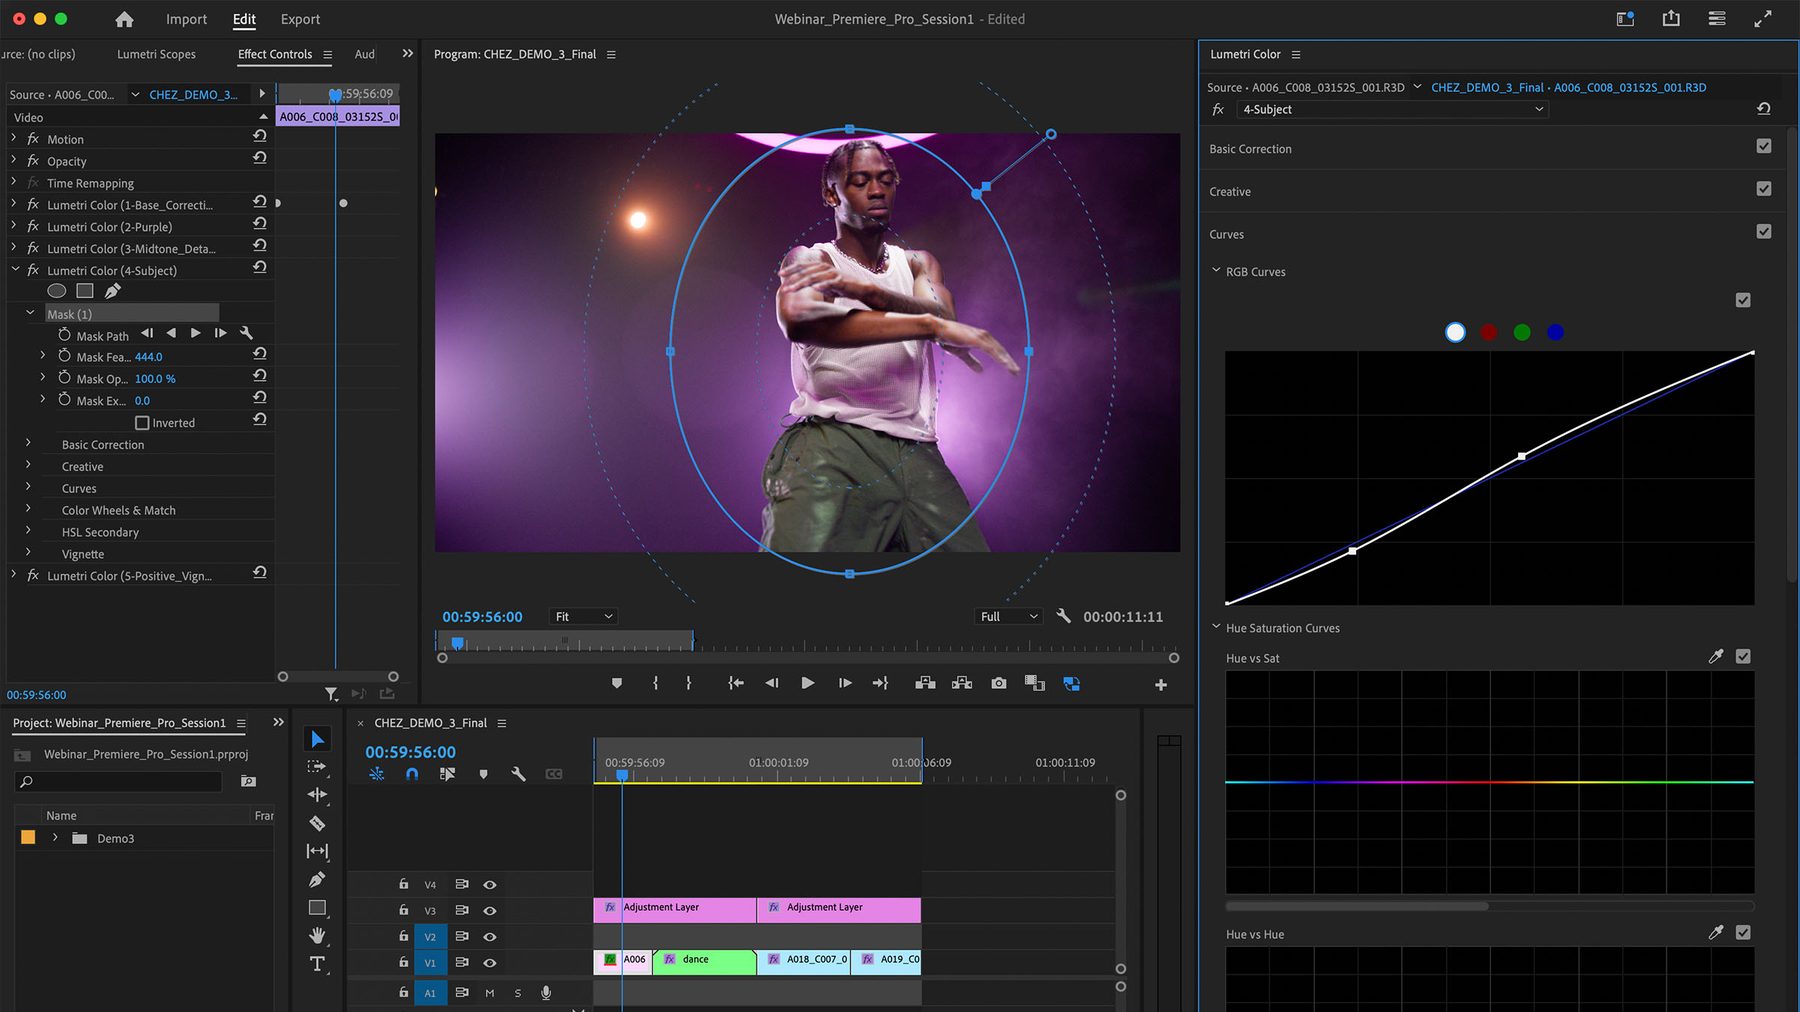
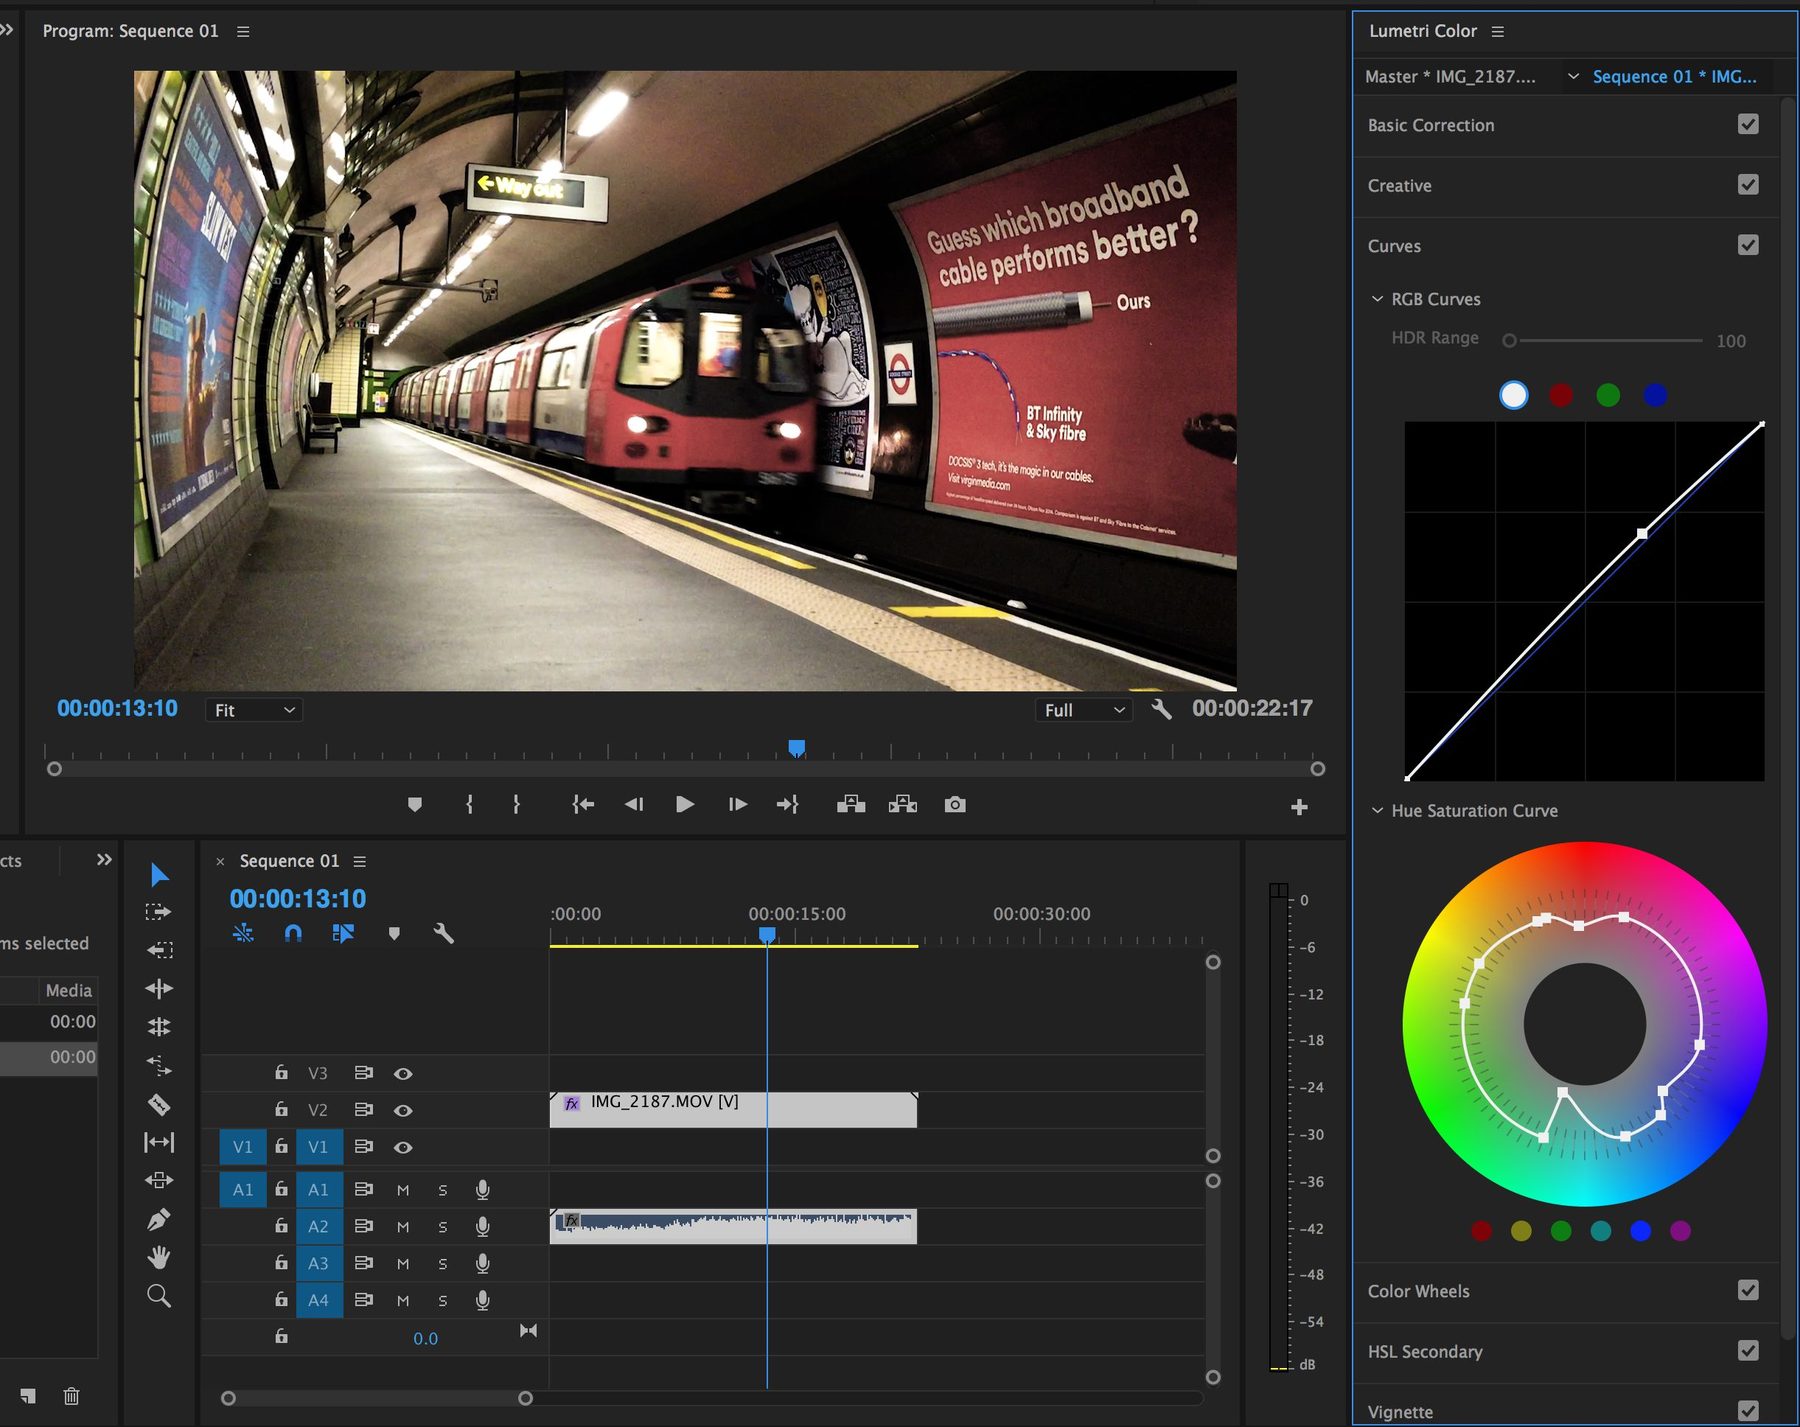
Manual grading in Premiere lives in the Lumetri Color panel, worked top to bottom. Start in Basic Correction: fix white balance with the eyedropper on something neutral, then set exposure and contrast while watching the Lumetri Scopes (Window → Lumetri Scopes) — the waveform should fill the range without clipping either end.
Then build the look: RGB Curves for contrast with control (a gentle S-curve), Hue Saturation Curves to push specific colors — this is where you’d hand-build a teal-orange split — and the Color Wheels to tint shadows, midtones, and highlights independently. Expect 10–20 minutes per scene to get it consistent.
That craft is worth learning — but it’s also exactly what a LUT compresses into one click. The free pack below is those finished grades as .cube files: apply, set intensity, move on with the edit. Manual when you want control, LUT when you want done.
VEL_Skin_Tone_Shaper or VEL_Chrome_01 — clean grades that keep skin natural.
VEL_Classic_Teal_Orange or VEL_Film_Print_01 — the classic Hollywood looks.
YT_Moody_Dark — deep shadows with warm highlights.
It depends on your content. From this free pack: VEL_Skin_Tone_Shaper and VEL_Chrome_01 are the best picks for talking-head videos, VEL_Classic_Teal_Orange and VEL_Film_Print_01 for cinematic B-roll, and YT_Moody_Dark for moody or night footage. All 12 are free .cube files that load into Lumetri Color.
Select the clip, open Lumetri Color → Creative → Look → Browse, and pick a .cube file. The LUT applies instantly; adjust strength with the Intensity slider.
Lower the Intensity slider in the Creative tab — 60–85% suits most footage. Also balance exposure and white balance in Basic Correction first; LUTs are designed for neutral footage.
Any version with the Lumetri Color panel — Creative Cloud 2015 and later, on both Windows and Mac.
12 professional .cube LUTs. Free, no credit card.