FAQ
DaVinci Resolve LUT questions.
How do I install a LUT in DaVinci Resolve?
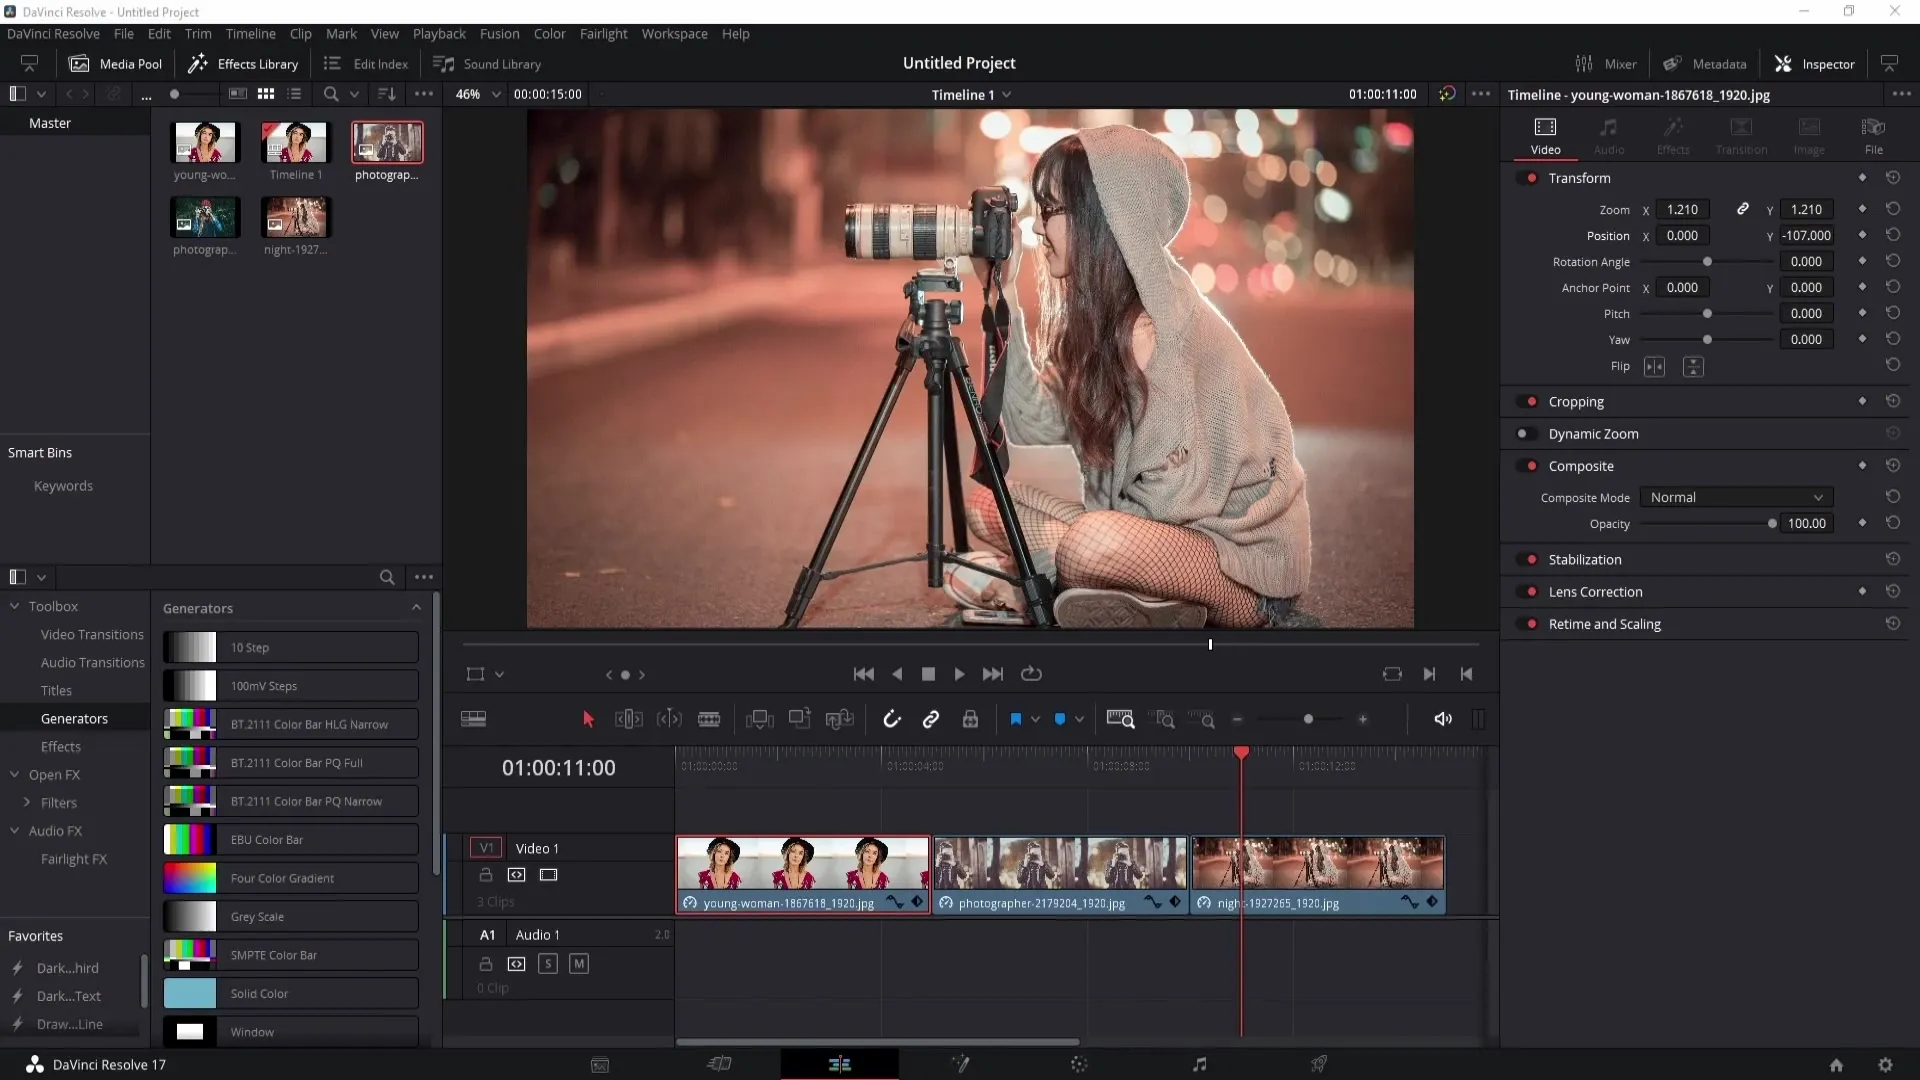
Go to Preferences → System → Color Management → Open LUT Folder, copy the .cube files in, click Update Lists, then right-click a node on the Color page → LUTs → pick your look. It works in both free and Studio.
Where is the LUT folder in DaVinci Resolve?
Resolve shows you the exact path via Preferences → Color Management → Open LUT Folder. It differs by OS, so use that button rather than hunting for the path manually.
Do LUTs work in the free version of DaVinci Resolve?
Yes — .cube LUTs work identically in free and Studio. Studio adds tools like noise reduction and HDR, but nothing the pack needs.
Which node should the LUT go on?
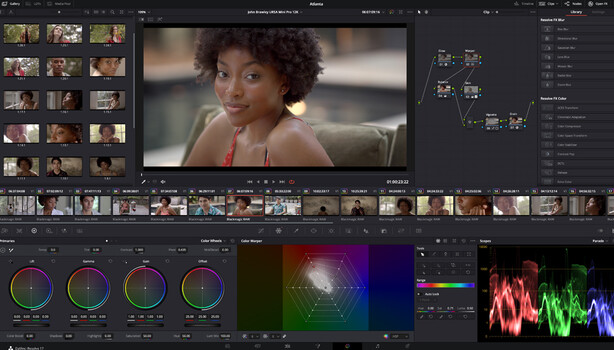
Correct first on your primary node, then put the LUT on a second node after it. That keeps your balance and exposure separate from the look, so you can adjust or swap either independently.
Are these Resolve LUTs free for commercial use?
Yes — free for monetized YouTube, client work, and social, with no attribution required.