Free LUTs

Free LUTs for
Final Cut Pro.

Final Cut Pro reads all 12 of these .cube files through its built-in Custom LUT effect — no plugins needed, and the LUT travels with your library once added.

Get the Free 12-LUT Pack

Or grab three right now — no email: Classic Teal & Orange · Moody Dark · Vintage Chrome

Install

How to install LUTs
in Final Cut Pro.

  1. Find the Custom LUT effect
    Open the Effects browser and search for Custom LUT (under Color).
  2. Apply it to your clip
    Drag the Custom LUT effect onto the clip, then open the Inspector.
  3. Load the .cube file
    In the Custom LUT section, click the LUT dropdown → Choose Custom LUT… and select a file from the pack.
  4. Mix to taste
    Use the Mix slider to blend the look — 0.6 to 0.85 works for most footage. Color-correct with the standard tools before the LUT for best results.

Grading the whole timeline

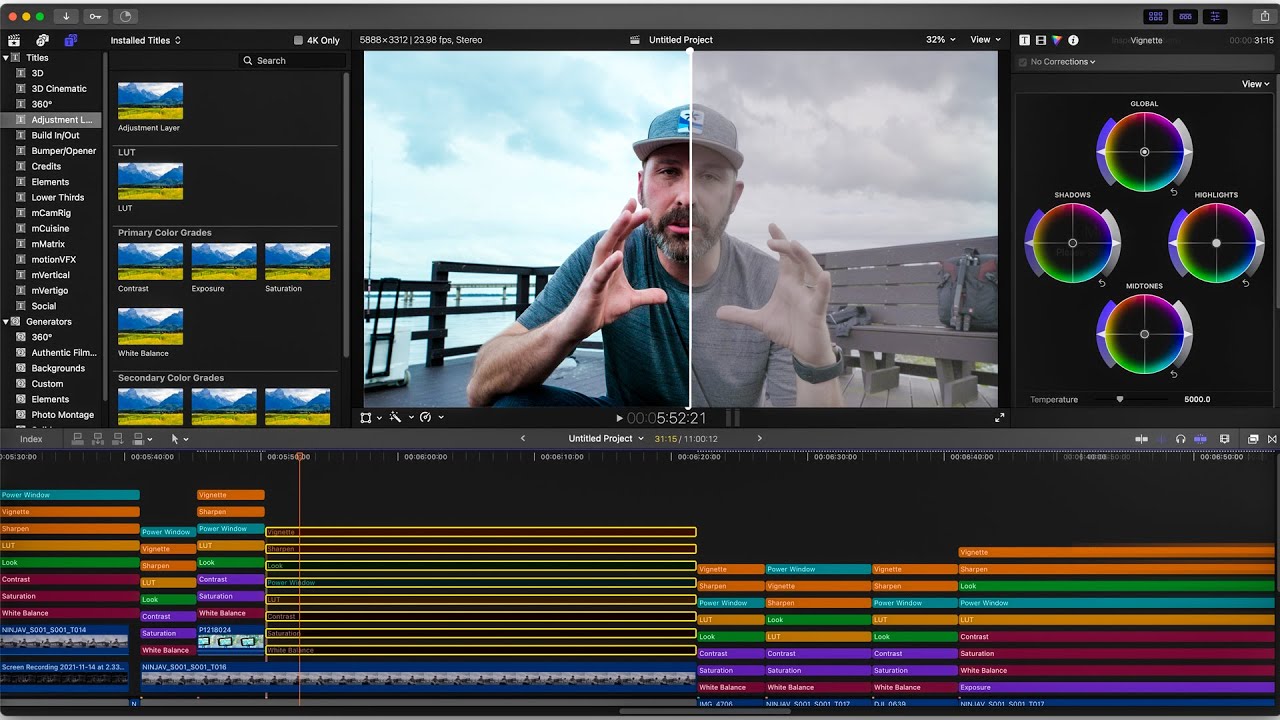
Final Cut has no native adjustment layer, but there’s a clean workaround: add a Custom title above your timeline, delete its text, and apply the Custom LUT effect to that title clip — everything below inherits the grade for the title’s duration.

For clip-by-clip workflows, grade one clip, select it, press ⌘C, then select the remaining clips and use Edit → Paste Effects. Save the combination as an effects preset (Save Effects Preset in the Inspector) and it becomes a one-click look in your Effects browser.

One library caveat: if your footage is HDR or wide-gamut, set the project to Rec.709 (or use color conform) before judging the LUT — these .cube files are built for standard-gamut delivery, and previewing them in an HDR timeline will look washed.

How to color grade in Final Cut Pro manually

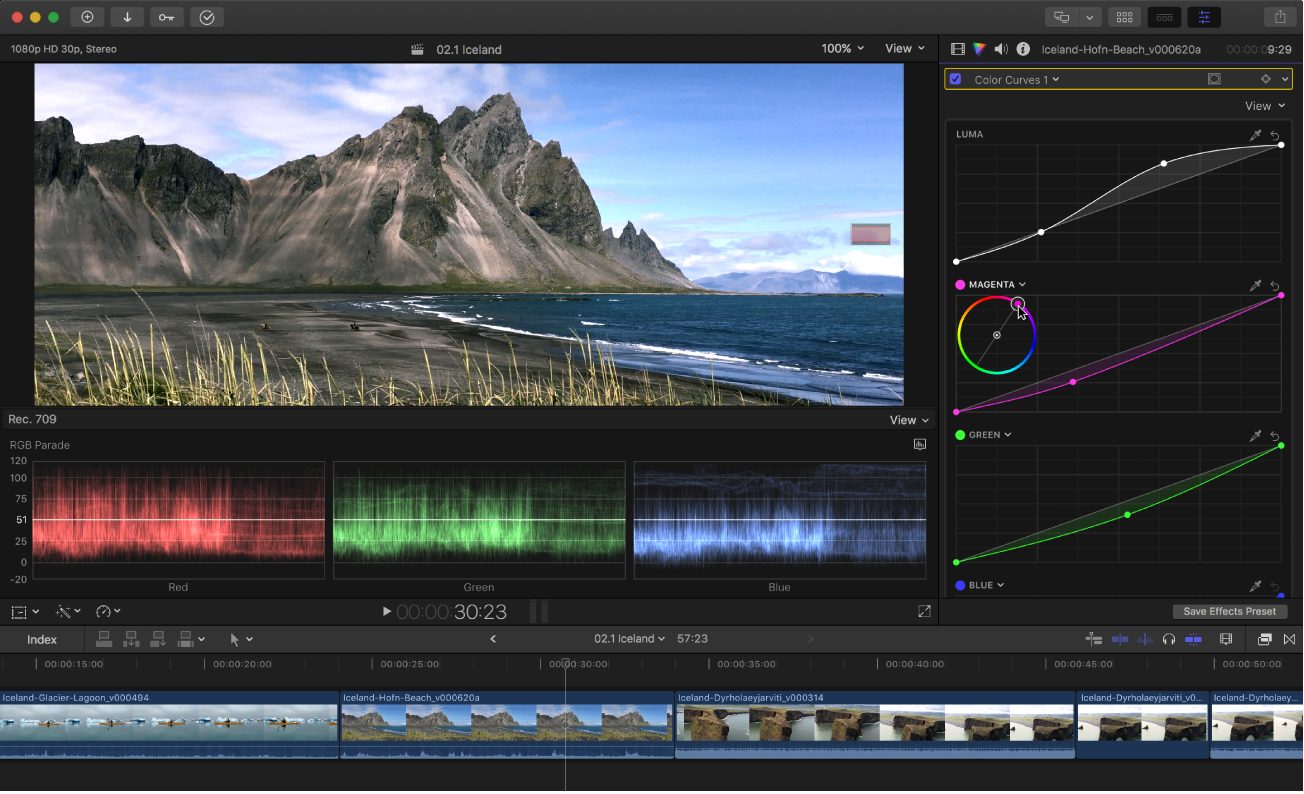
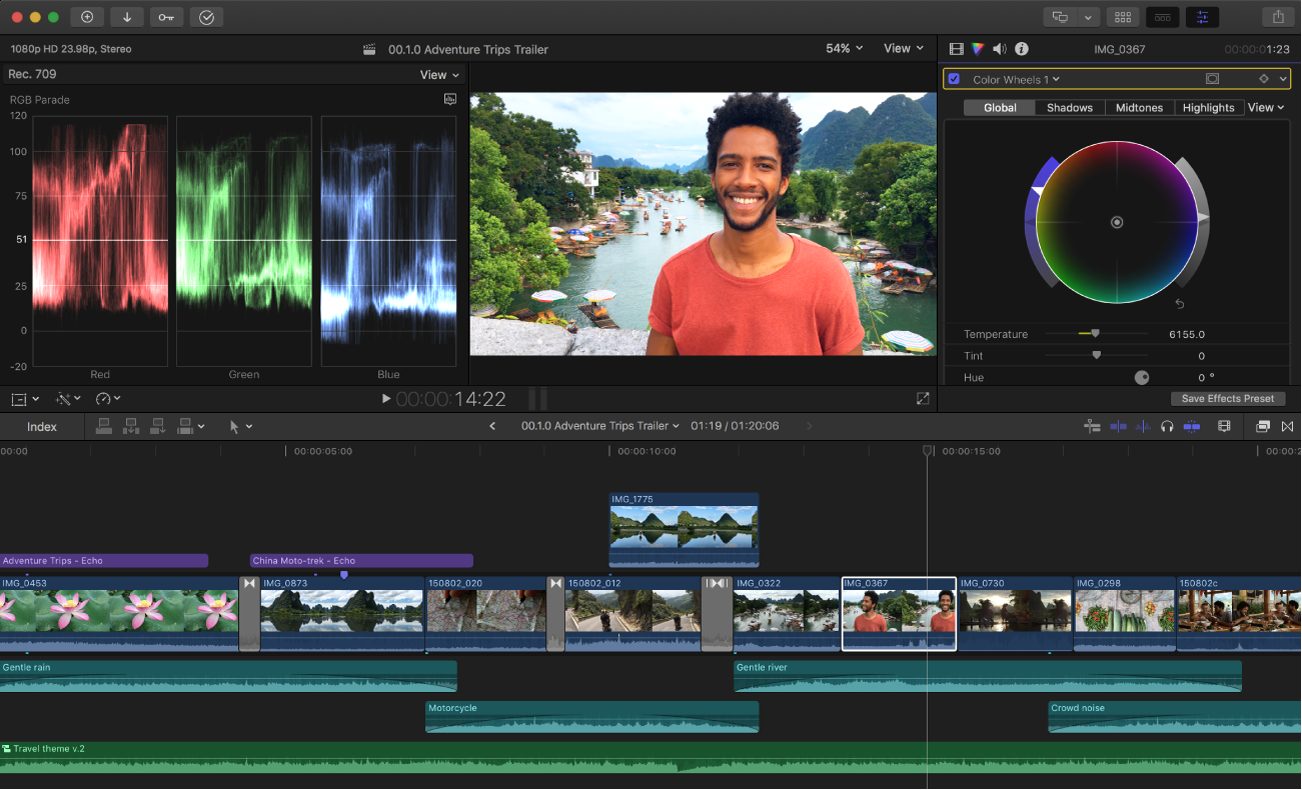
Final Cut’s manual tools live in the Color inspector: add a Color Wheels effect (or Color Board for the classic interface), open the video scopes with Cmd+7, and balance first — Master and Shadows wheels to set the foundation, watching the waveform fill its range cleanly.

For the look itself, Color Curves gives precise contrast, and Hue/Saturation Curves does the targeted work — warming skin, cooling backgrounds, taming a saturated sign in the background. Each effect stacks in the inspector, and the order matters: correct first, stylize second.

Or compress the stylize step entirely: the Custom LUT effect with a .cube file from the free pack applies a finished look in seconds, and the Mix slider keeps it adjustable. Most editors land on the hybrid — manual balance, LUT look — which is exactly how this pack is meant to be used.

Which LUTs to use

The best LUTs in the pack for Final Cut Pro work.

Vlogs and lifestyle edits

VEL_French_Comedy or YT_Matte_Fade — warm, soft, social-friendly looks.

Product and tech videos

VEL_Chrome_01 — a clean editorial grade that keeps whites honest.

Cinematic travel films

VEL_Classic_Teal_Orange or VEL_Berlin_Sky.

FAQ

Final Cut Pro LUT questions.

What are the best free LUTs for Final Cut Pro?

From this free pack: VEL_French_Comedy and YT_Matte_Fade are the best picks for vlogs and lifestyle edits, VEL_Chrome_01 for product and tech videos, and VEL_Classic_Teal_Orange or VEL_Berlin_Sky for cinematic travel films. All 12 load through Final Cut’s built-in Custom LUT effect.

How do I import a LUT into Final Cut Pro?

Apply the built-in Custom LUT effect (Effects → Color) to your clip, then in the Inspector choose Choose Custom LUT… and select the .cube file. The LUT stays available in the dropdown afterwards.

Do these work with iPhone footage in Final Cut?

Yes. For standard iPhone clips, apply the LUT directly. For footage shot in Apple Log, do a log-to-Rec.709 conversion first, then add the creative LUT on top.

Can I adjust how strong the LUT is?

Yes — the Custom LUT effect has a Mix slider. Lower it to blend the graded look with your original image; most of this pack sits well around 60–85%.

Free Download

Grade your next
Final Cut Pro edit.

12 professional .cube LUTs. Free, no credit card.

Download the Free Pack